Post by greenbean on Aug 26, 2007 5:21:05 GMT -5
All,
Just got back in town from an unexpected trip and finally got time to install these. Got a awesome deal on my favorite parts store, (Ebay!) which was about $100. (Retail is $195-200) Anyways here's some pics!
Will
Remove lenses from OEM taillights, then unscrew 3 bolts inside the tail lamp housing to remove it.
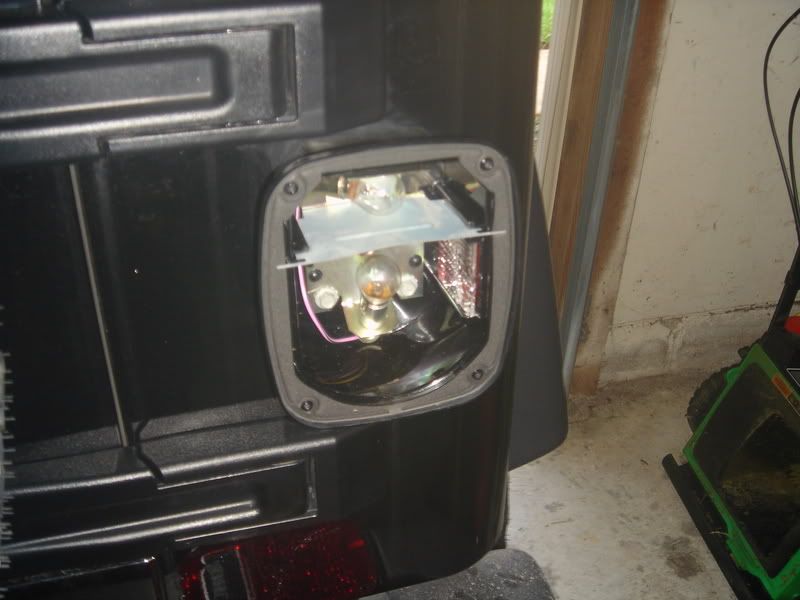
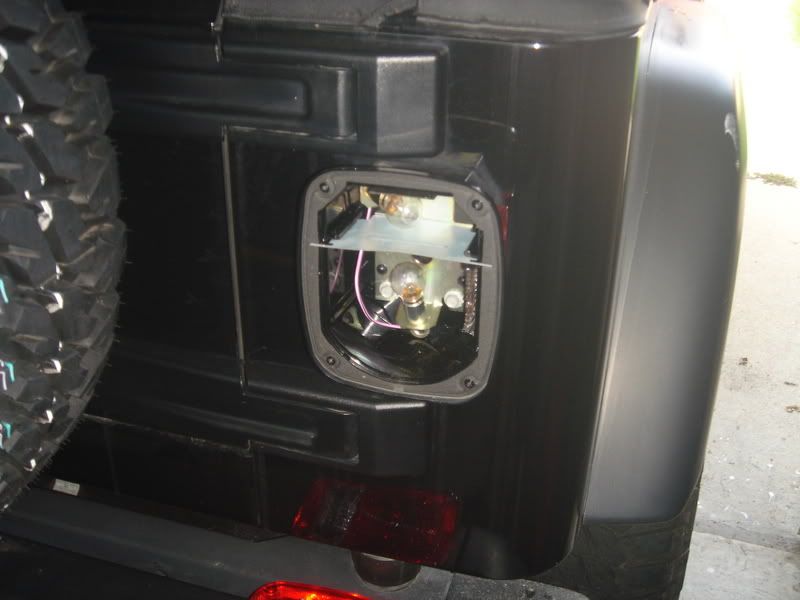
Next pull the wiring connector out where you can get at it and dis-connect it. The Drivers side is pretty easy, passenger side not so much due to the charcoal cannister being on that side. Also it will help on the passenger side to remove the inner fender lining so you can reach up in there to help push the passenger connector out, it is a tight fit getting it out the body panel hole.
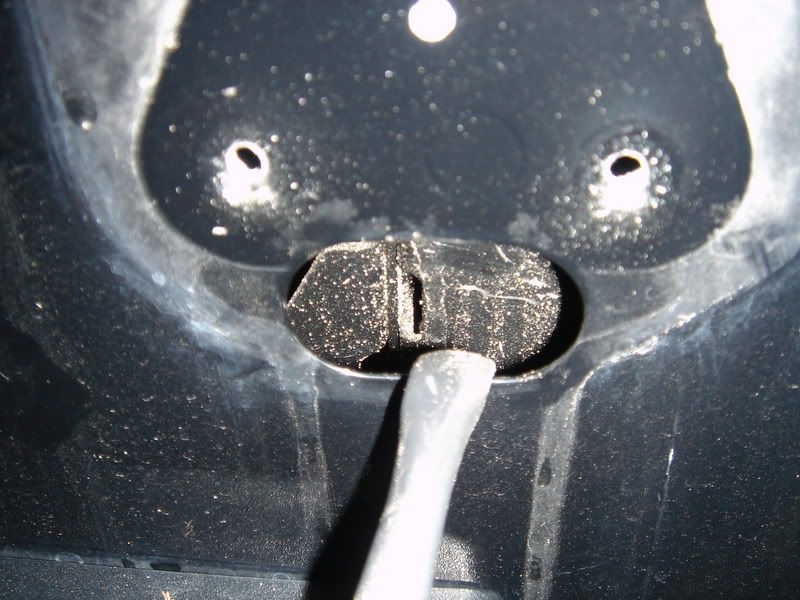
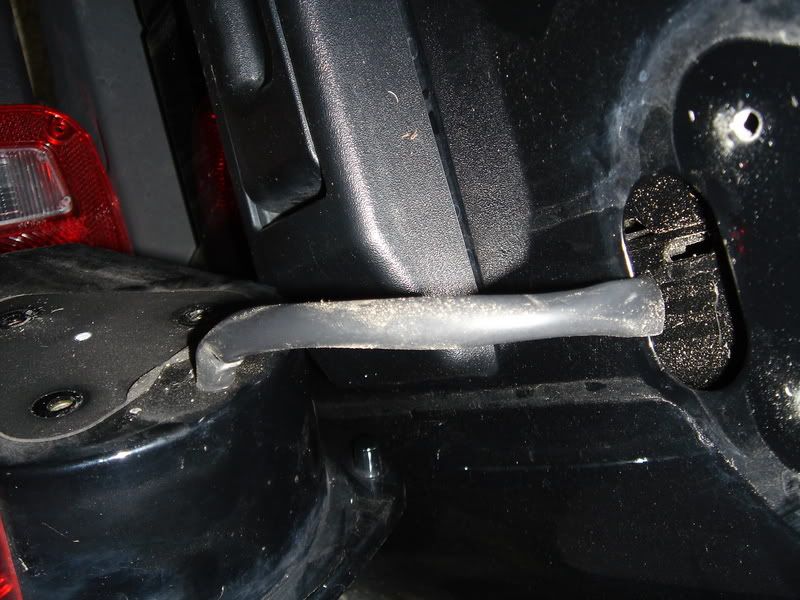
Once this is accomplished dis-connect the tail light housings, set them aside and clean up the body panel area with some soap and water before you re-install the new lights. Also at this time remove the license plate holder, it will need cleaning underneath too, and the some modification so the new tail light will fit properly.
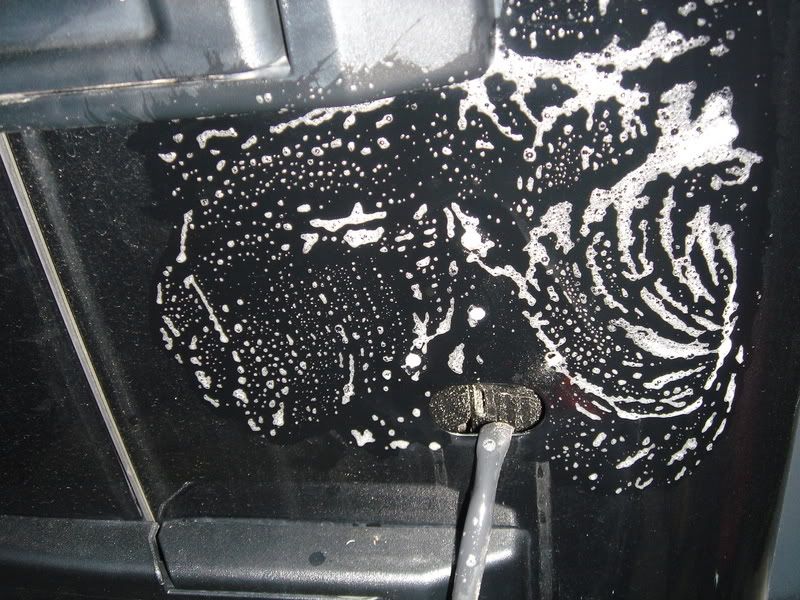
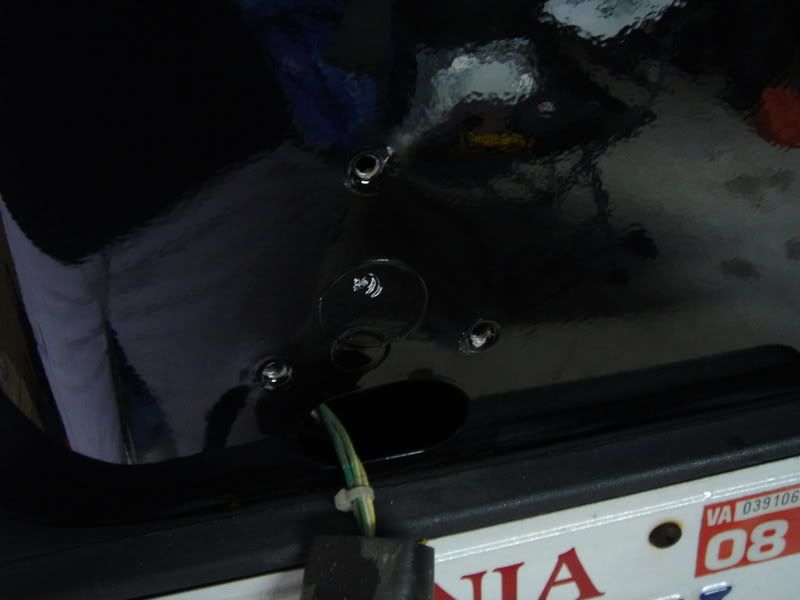
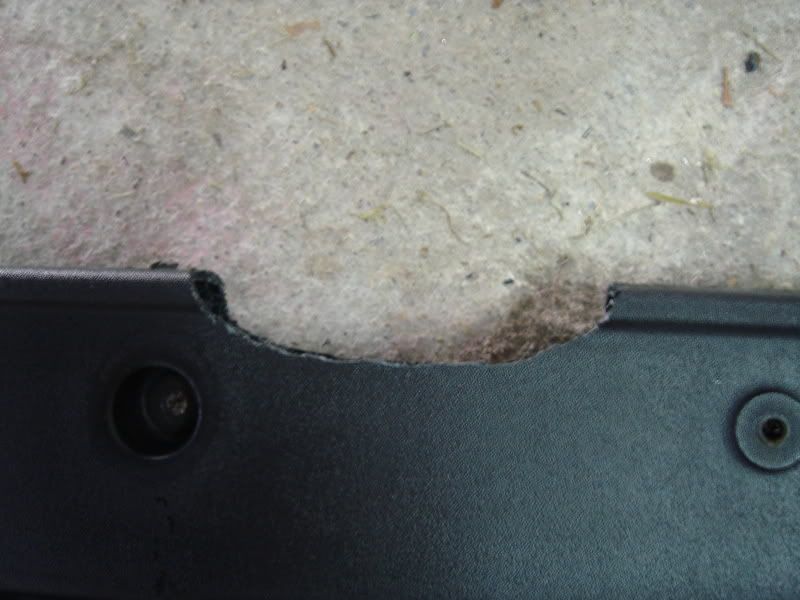
Notch cut out of plate holder:
LITE-Dots out of packaging:
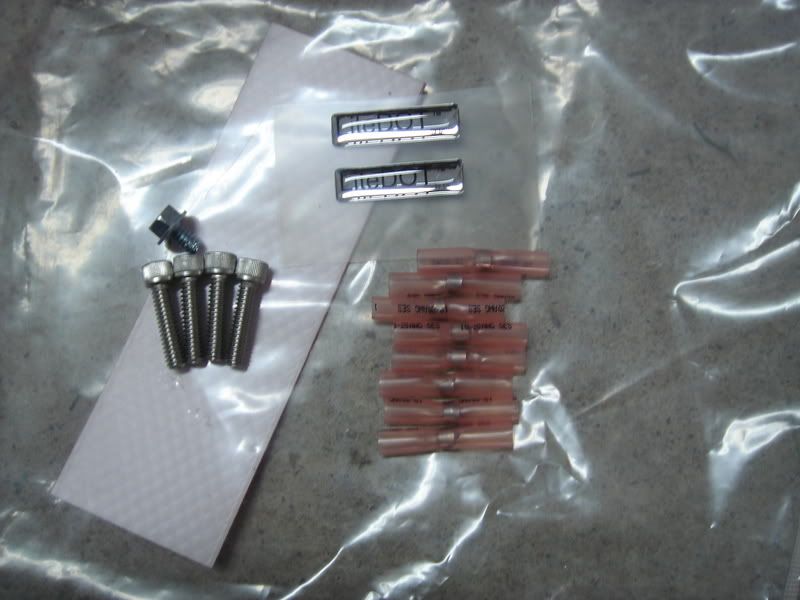
Here is the hard wear and wiring connectors sent with the lights from Off-Road-Only. The connectors are a Heat-shrink/glue and has solder inside that melts your connection together when you shrink it. 2 allen-head screws mount the lights to the body. Also you have to cut the OEM tail-light connectors as shown below.
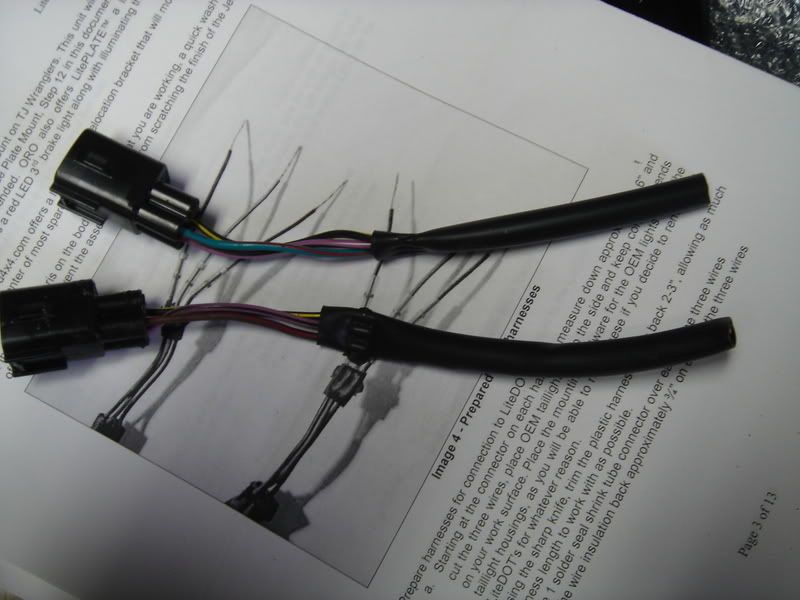
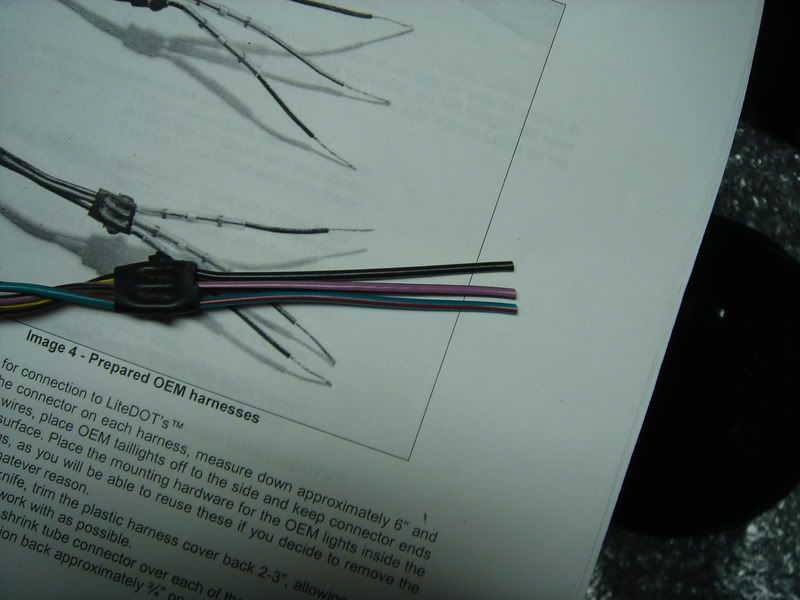
Trim away OEM sheathing as shown and strip ends back about 3/4 inch.(Wires need to be about 6inches long as measured from the connector)

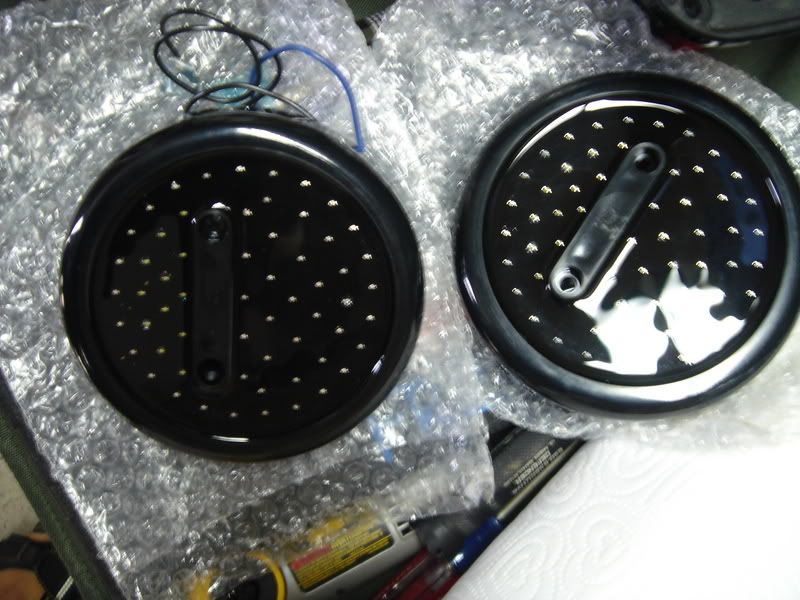
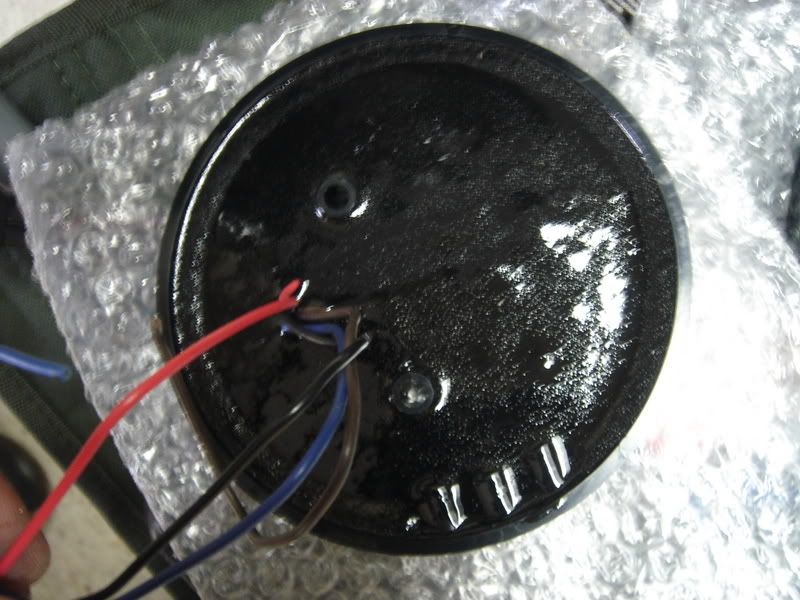
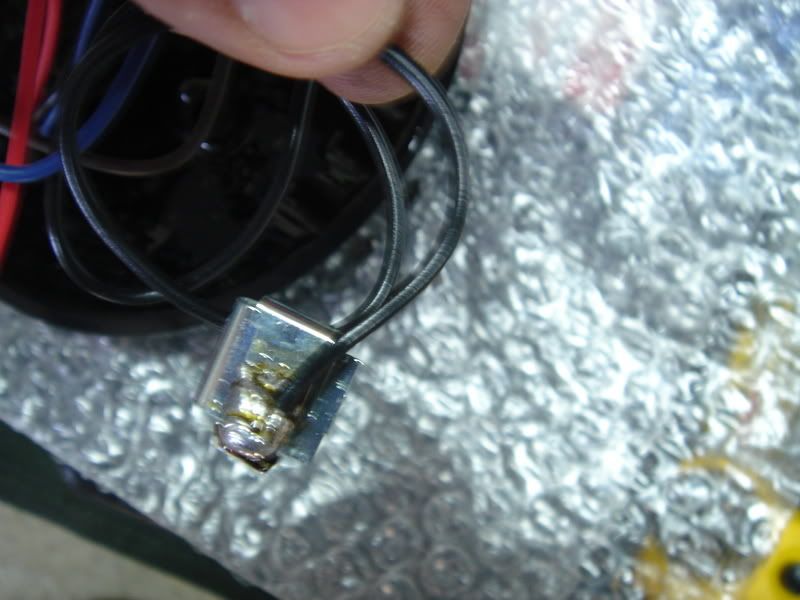
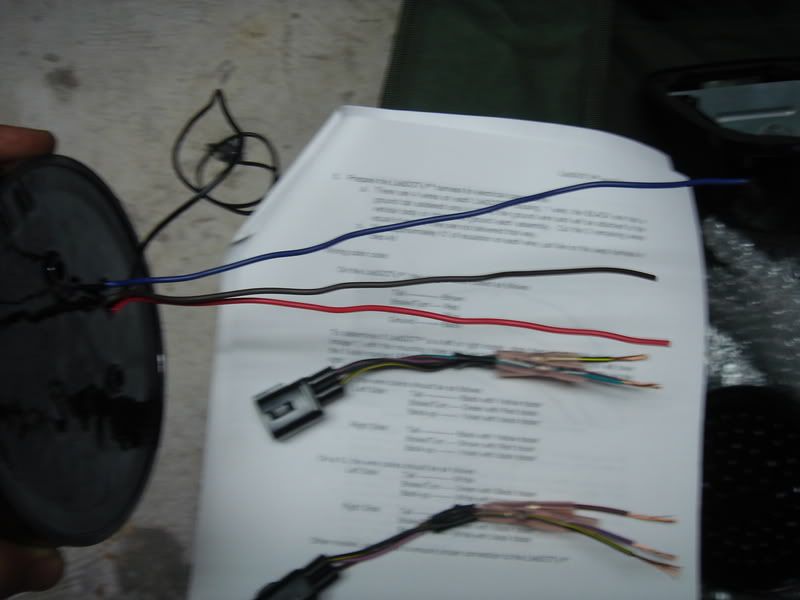
Back of LITE-Dot (Body-side) showing wiring. In my hand is the ground wire with the attached grounding clip.
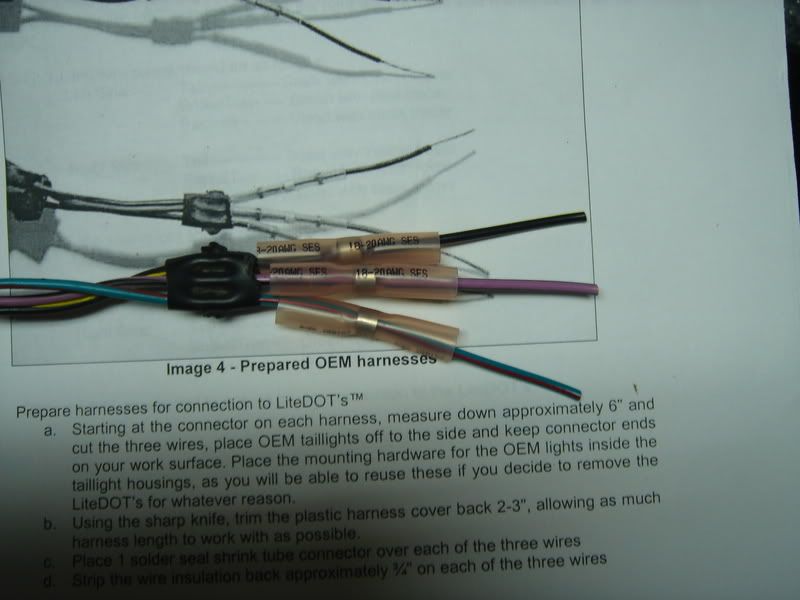
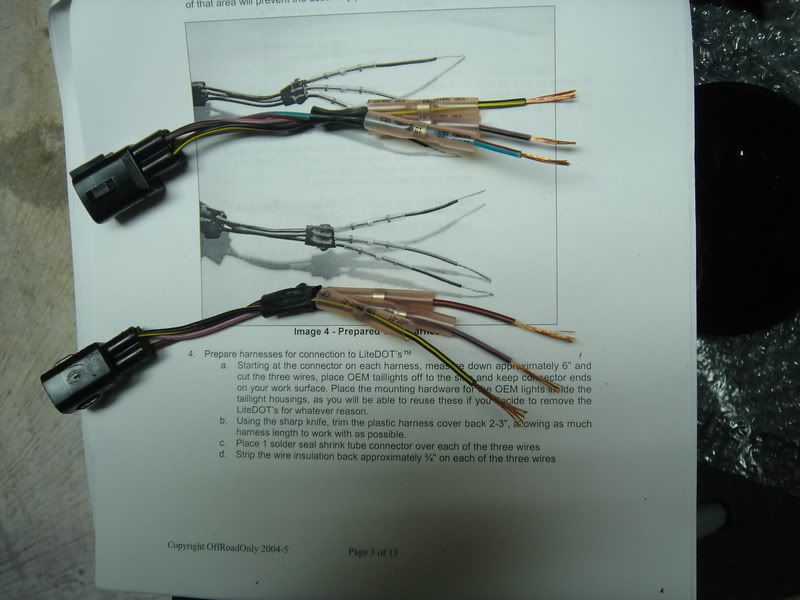
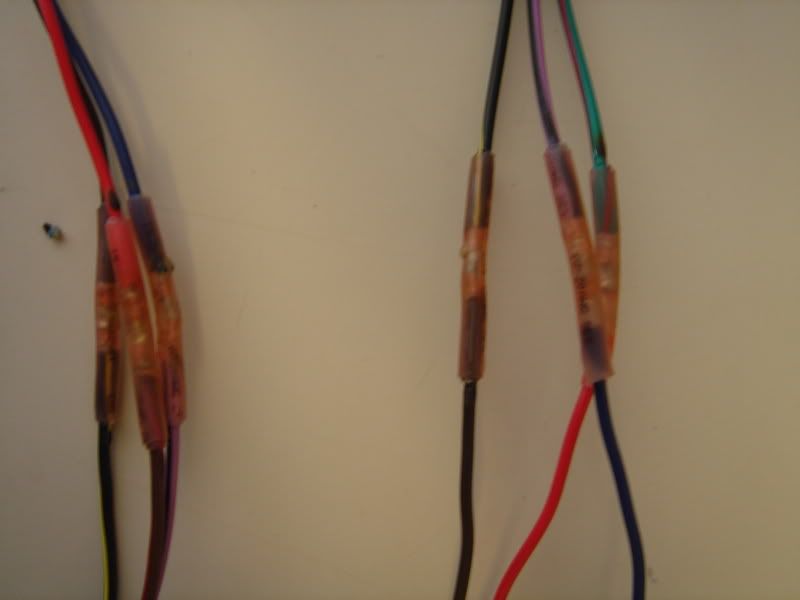
Here is a series of pics showing the stripped wiring of the lights and OEM connector. Twist the 2 ends together, slide the heat-shrink/solder connector over your connection, and heat em up!(There is an included chart showing which wires to connect to on the OEM connector/LITE-Dot)

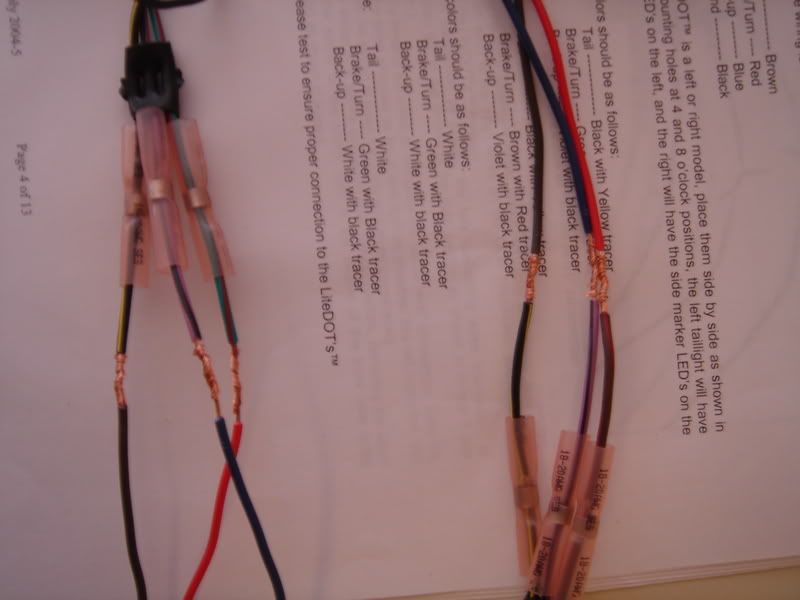
Finished connection!
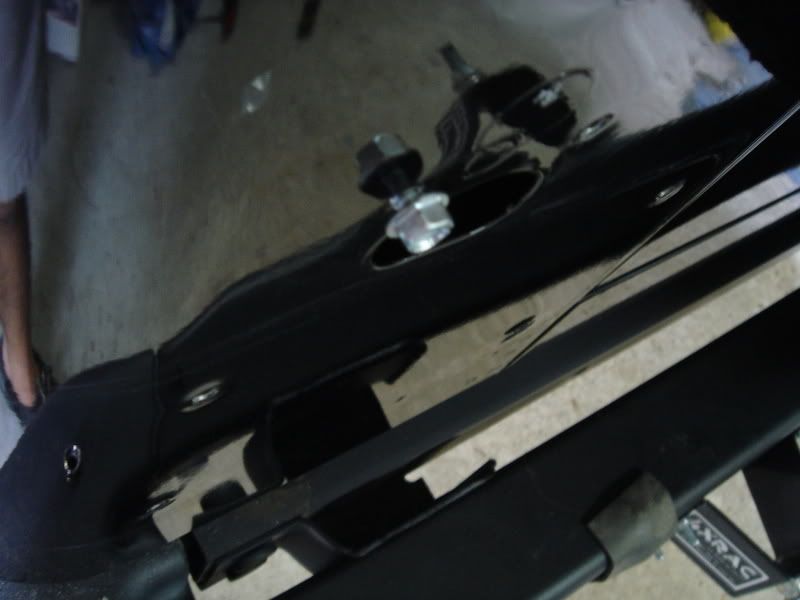
Next take the including self-tapping screw to cut new threads in the body mounted nuts used to attach the lights. You only use the lower 2 holes.
From here just snap the factory connector back together, fish the wires back down into the body, then last attach your ground clip in an out of the way place on the body or frame. Screw the lights onto the Jeep, be careful not to over tighten the screws! Reattach license plate holder and thats it! No hole saws or any of that business, and they can be re-moved if needed too!
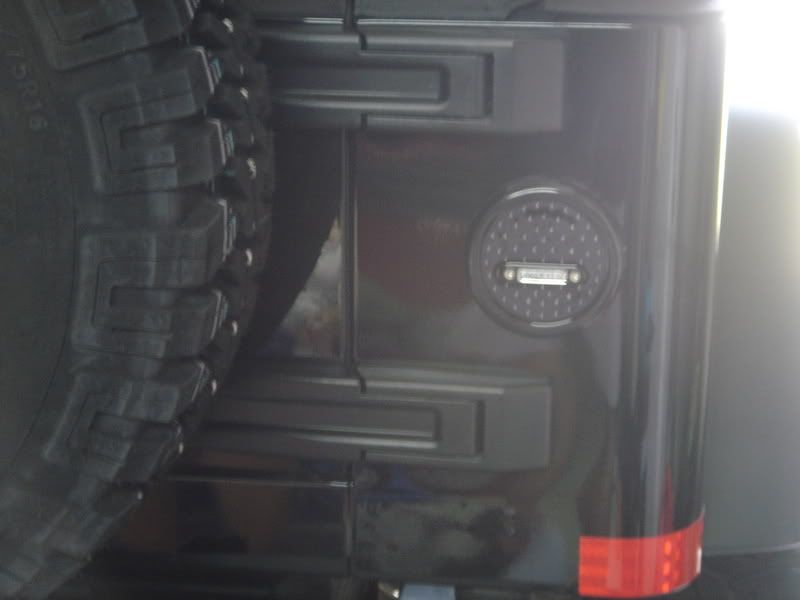
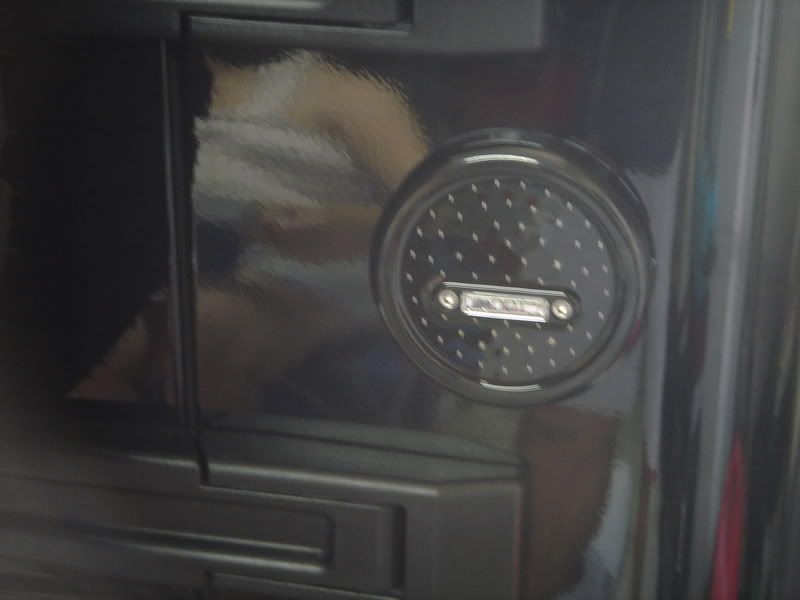
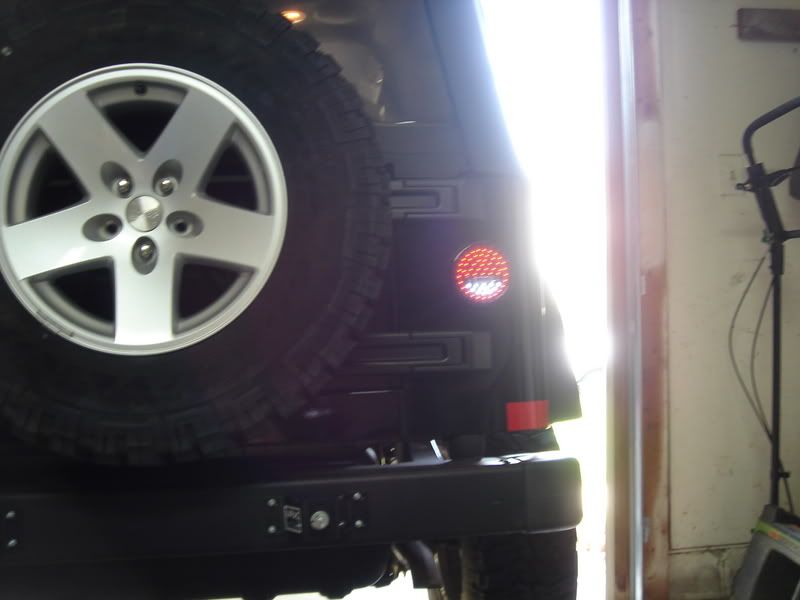
Shot of lights in garage with lights on:
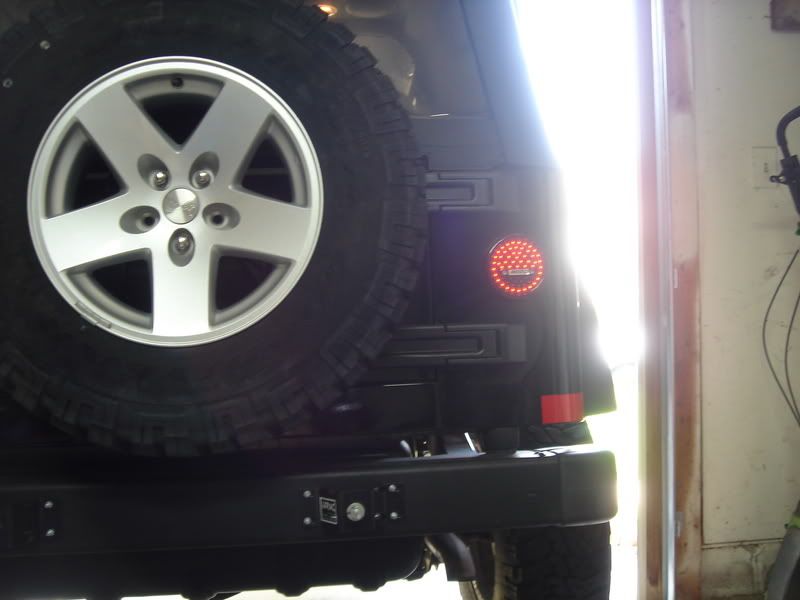
Brake lights:
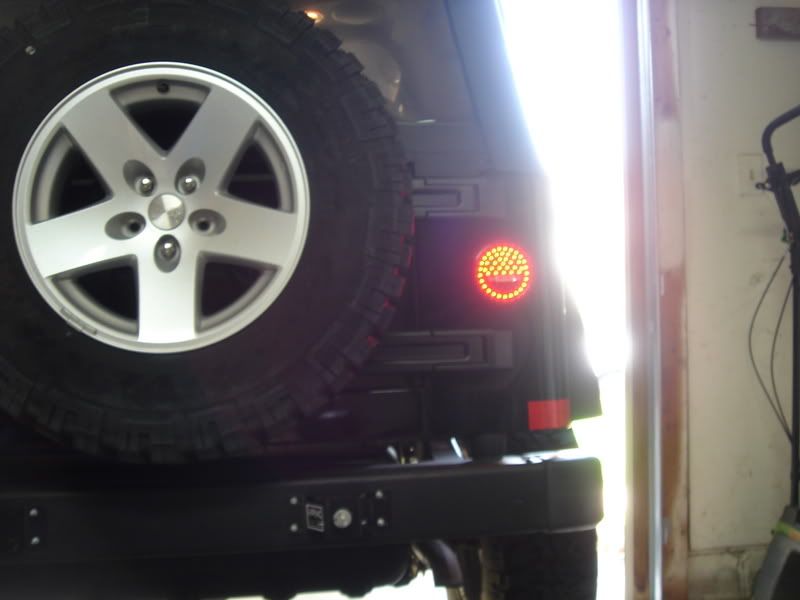
Reverse:
Night-time lights on and reverse:
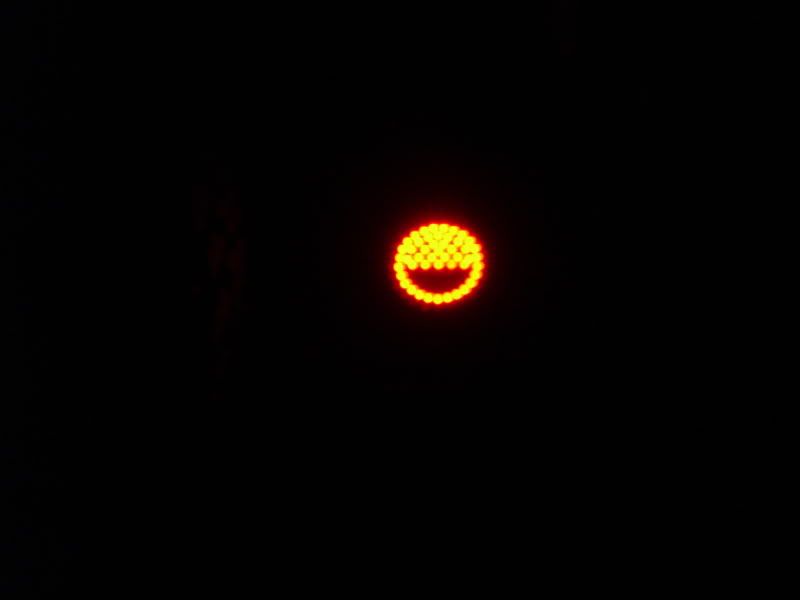
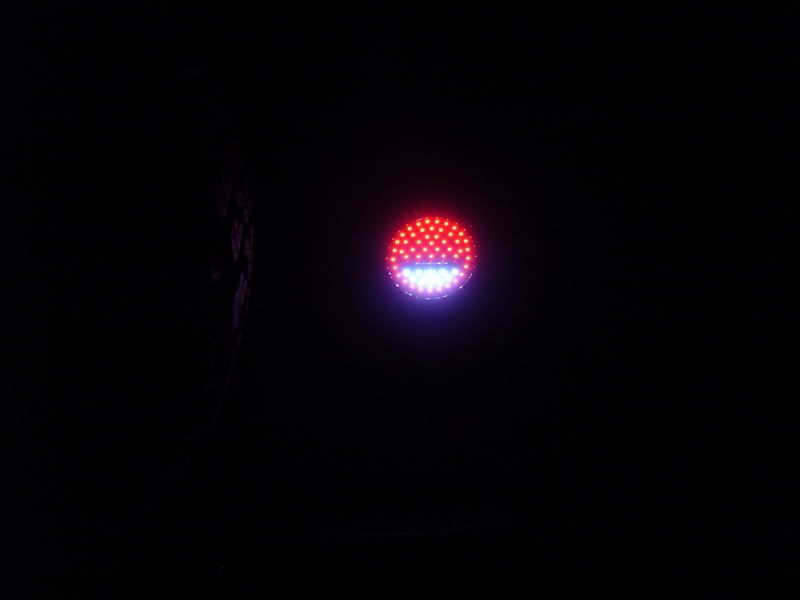
Finished! Remember your need to do 1 more thing...Modify the existing flasher relay in the steering column or purchase one for LED lights so you don't have the "Fast-flashing" problem. I think so far these things are pretty awesome and again no permanent modifications are done. I recommend them!
Will - aka - greenbean
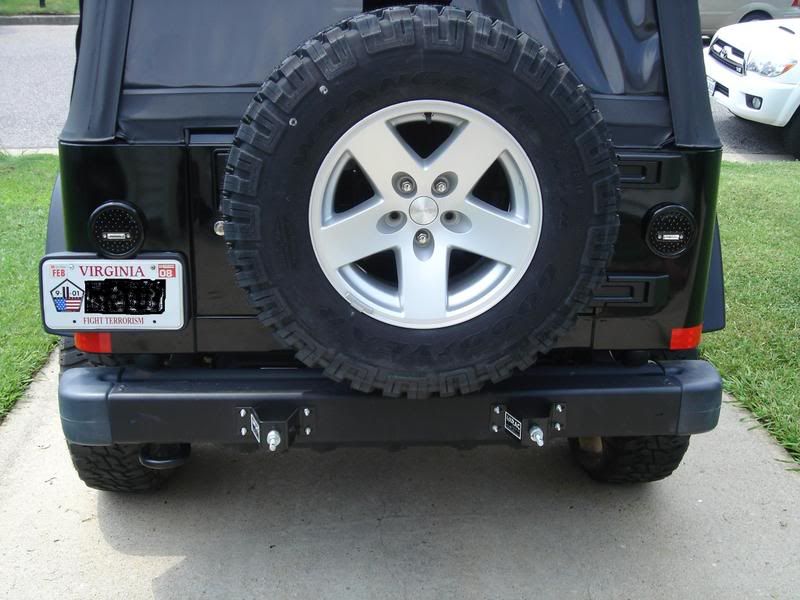
8 May 2008
Just wanted to let anyone who are considering these that I took a chance down the street where I live and went to a new supercarcarecenter to get my inspection after getting the exhaust welded in last week and I was 8 days past my expiration. I am happy to say that with the lift and the Lite-Dot's I passed no issues so I will definitely utilize this place again. If anyone near me is wondering it is at 3429 Dam Neck Rd, VA beach. In and out in less than an hour. Just wanted everyone to know I had a good experience there! ;D
Later,
Will
Just got back in town from an unexpected trip and finally got time to install these. Got a awesome deal on my favorite parts store, (Ebay!) which was about $100. (Retail is $195-200) Anyways here's some pics!
Will
Remove lenses from OEM taillights, then unscrew 3 bolts inside the tail lamp housing to remove it.


Next pull the wiring connector out where you can get at it and dis-connect it. The Drivers side is pretty easy, passenger side not so much due to the charcoal cannister being on that side. Also it will help on the passenger side to remove the inner fender lining so you can reach up in there to help push the passenger connector out, it is a tight fit getting it out the body panel hole.


Once this is accomplished dis-connect the tail light housings, set them aside and clean up the body panel area with some soap and water before you re-install the new lights. Also at this time remove the license plate holder, it will need cleaning underneath too, and the some modification so the new tail light will fit properly.


Notch cut out of plate holder:

LITE-Dots out of packaging:

Here is the hard wear and wiring connectors sent with the lights from Off-Road-Only. The connectors are a Heat-shrink/glue and has solder inside that melts your connection together when you shrink it. 2 allen-head screws mount the lights to the body. Also you have to cut the OEM tail-light connectors as shown below.


Trim away OEM sheathing as shown and strip ends back about 3/4 inch.(Wires need to be about 6inches long as measured from the connector)


Back of LITE-Dot (Body-side) showing wiring. In my hand is the ground wire with the attached grounding clip.


Here is a series of pics showing the stripped wiring of the lights and OEM connector. Twist the 2 ends together, slide the heat-shrink/solder connector over your connection, and heat em up!(There is an included chart showing which wires to connect to on the OEM connector/LITE-Dot)


Finished connection!

Next take the including self-tapping screw to cut new threads in the body mounted nuts used to attach the lights. You only use the lower 2 holes.

From here just snap the factory connector back together, fish the wires back down into the body, then last attach your ground clip in an out of the way place on the body or frame. Screw the lights onto the Jeep, be careful not to over tighten the screws! Reattach license plate holder and thats it! No hole saws or any of that business, and they can be re-moved if needed too!


Shot of lights in garage with lights on:

Brake lights:

Reverse:

Night-time lights on and reverse:


Finished! Remember your need to do 1 more thing...Modify the existing flasher relay in the steering column or purchase one for LED lights so you don't have the "Fast-flashing" problem. I think so far these things are pretty awesome and again no permanent modifications are done. I recommend them!
Will - aka - greenbean

8 May 2008
Just wanted to let anyone who are considering these that I took a chance down the street where I live and went to a new supercarcarecenter to get my inspection after getting the exhaust welded in last week and I was 8 days past my expiration. I am happy to say that with the lift and the Lite-Dot's I passed no issues so I will definitely utilize this place again. If anyone near me is wondering it is at 3429 Dam Neck Rd, VA beach. In and out in less than an hour. Just wanted everyone to know I had a good experience there! ;D
Later,
Will


 BEN
BEN