Post by greenbean on Jan 31, 2008 14:02:39 GMT -5
Well, it didn't take me long to talk the better half into a few upgrades, so this will be the start of my 2006 Rubicon buildup thread. Plan on starting today and hopefully be done this weekend! (Fingers Crossed!! ;D) Right now here are some parts pictures, and I still gotta get some new tires.... 
Cheers!
Will
Rokmen Gas Tank skid delivered from UPS....
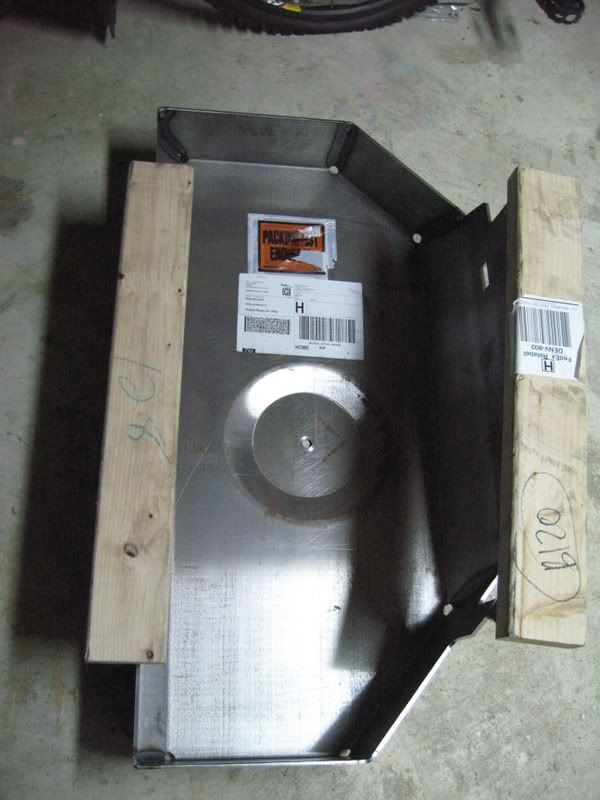
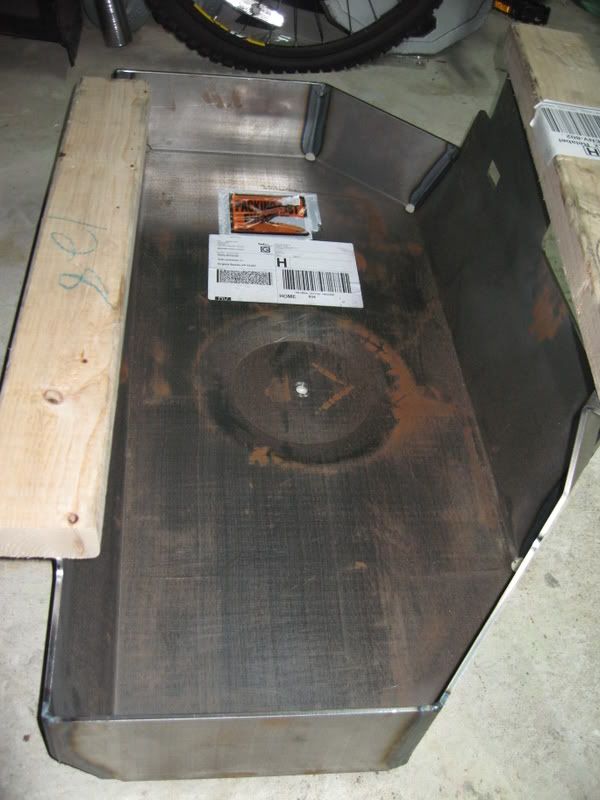
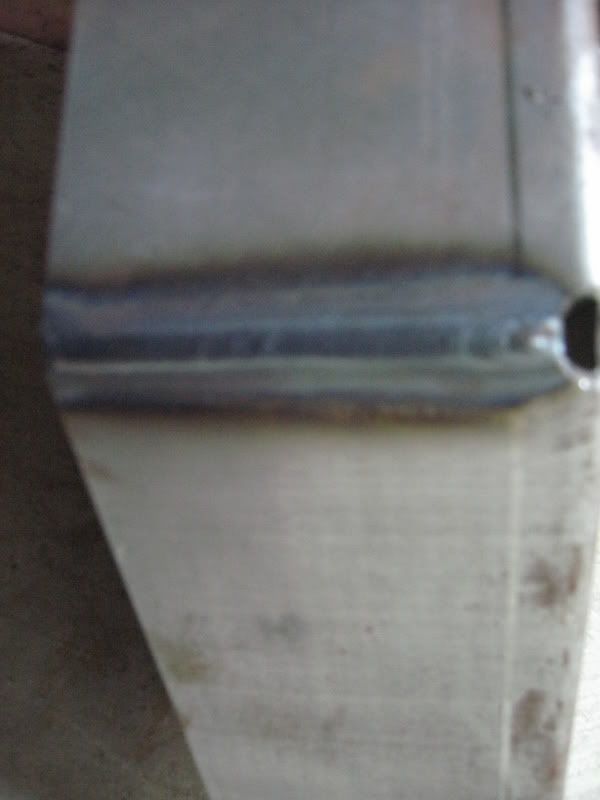
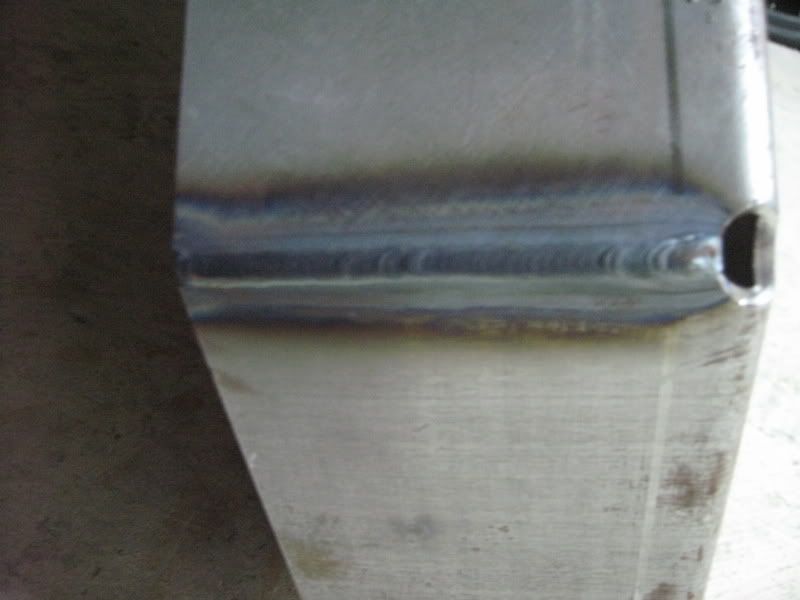
All painted up ready for install. I ended up doing 2 coats of POR15 with a brush,(I had it sitting around) and then 2 coats of black rattle can textured black paint, wasn't real concerned about it since it is underneath and will get bashed anyway!
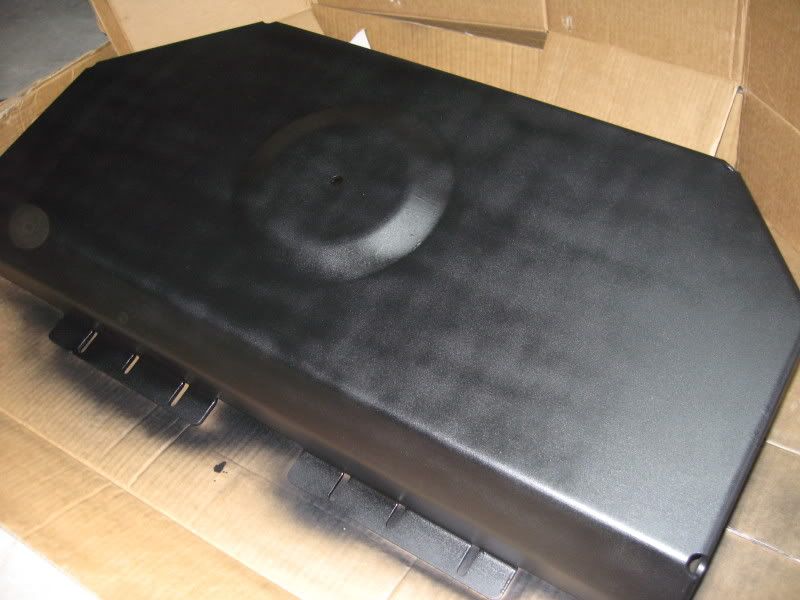

Here are some pics of the Full Traction 6" long arm I will be installing, I'll more as I do the install!

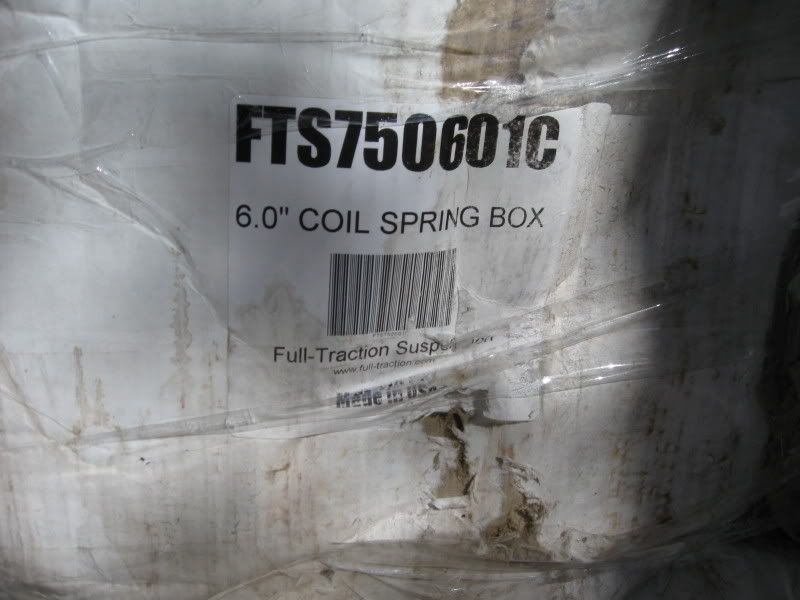
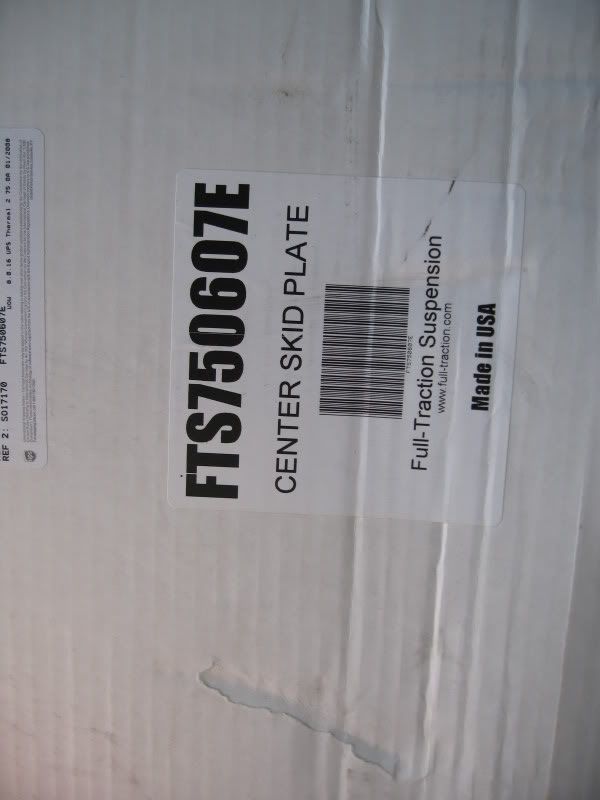

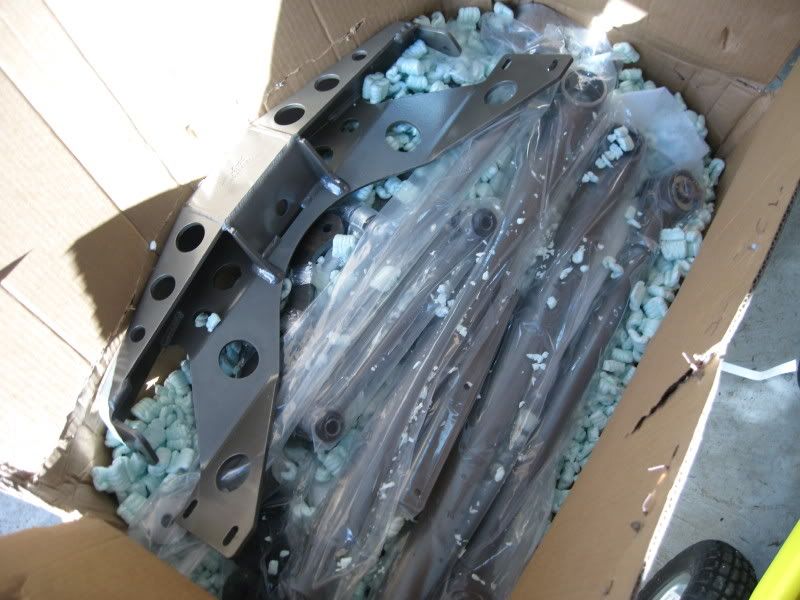
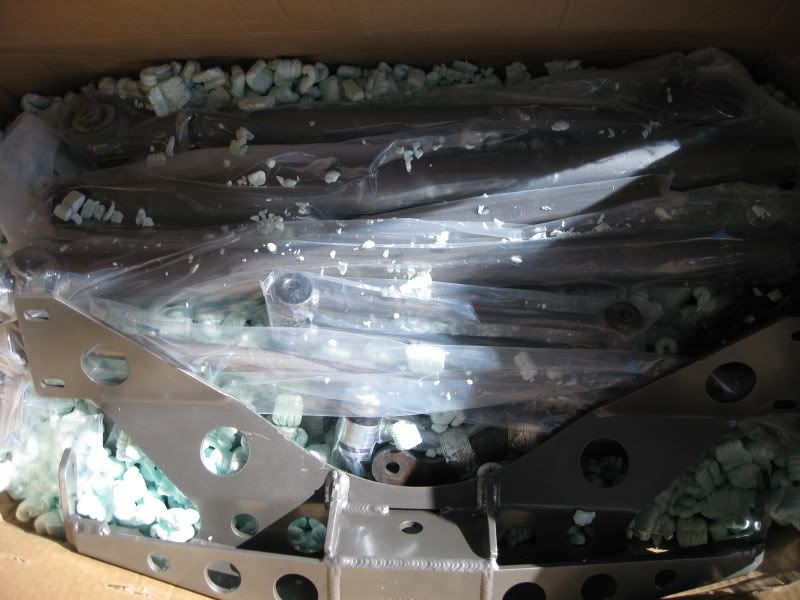

Kit came in 5 boxes, long arm links are huge and beefy! I did agonize for several months over this kit and a Clayton but felt this was better for me doing the install and it is all bolt on for the most part, anyway I will keep updating as it progresses! I do have to be done by Monday, gotta drive to work!!!!
Will
1 MAR 08
Okay,
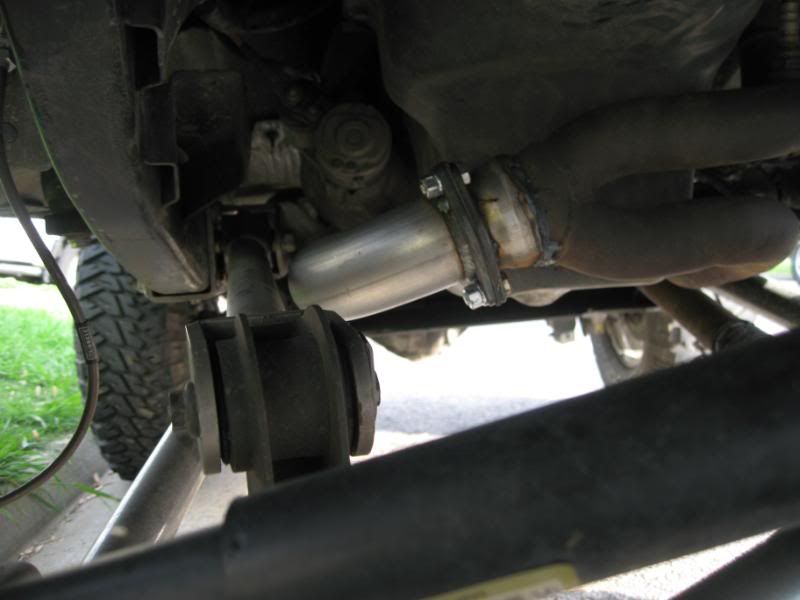
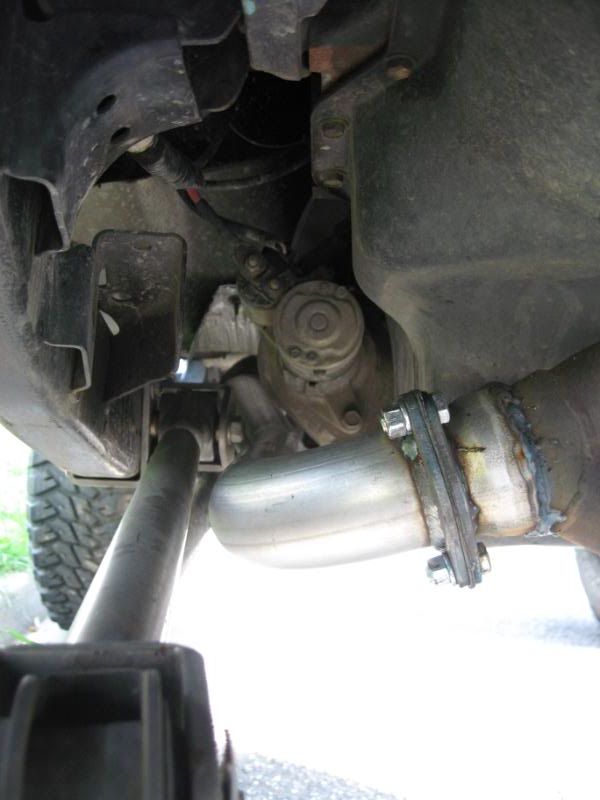
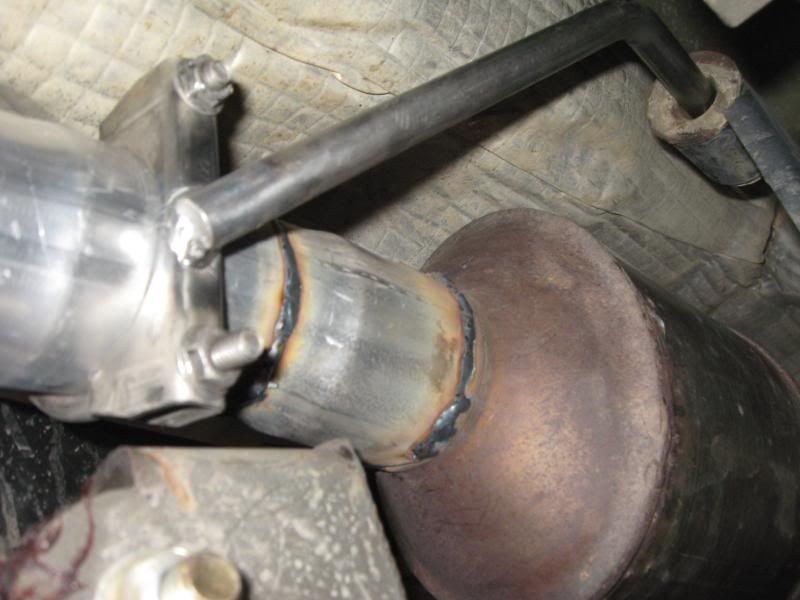
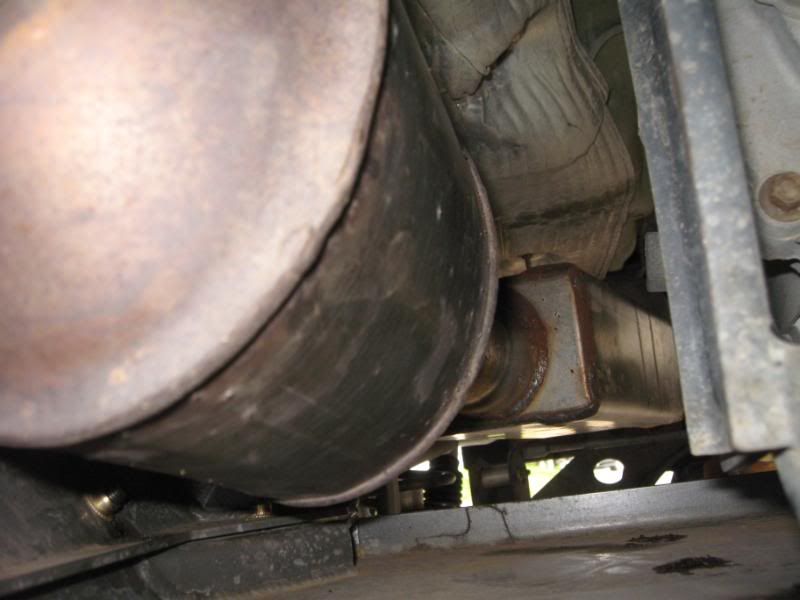
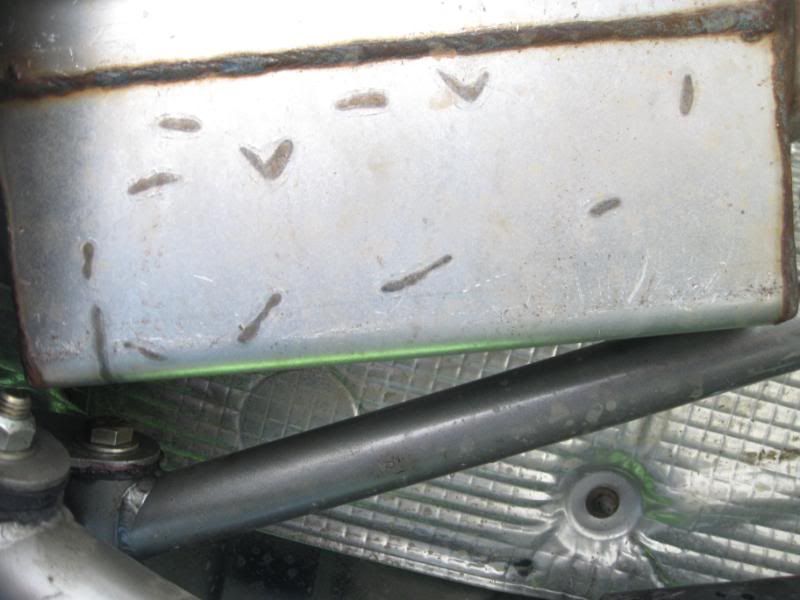
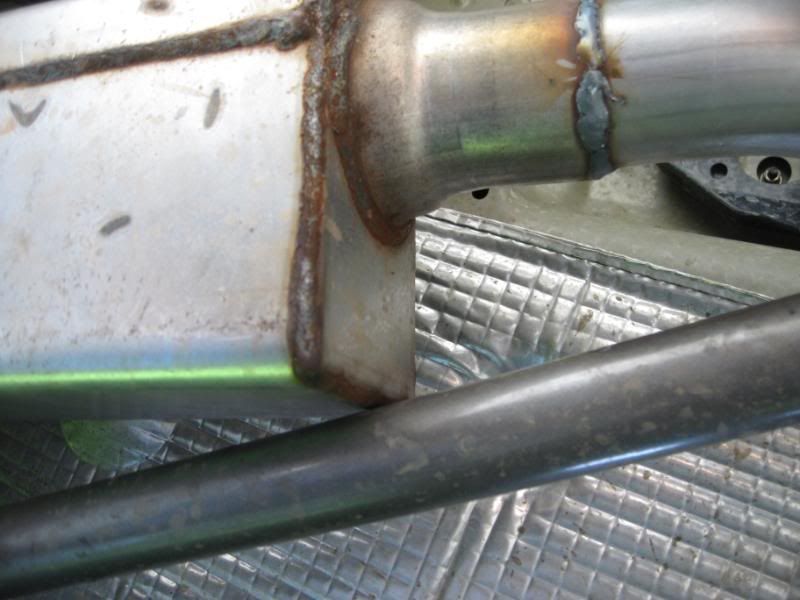
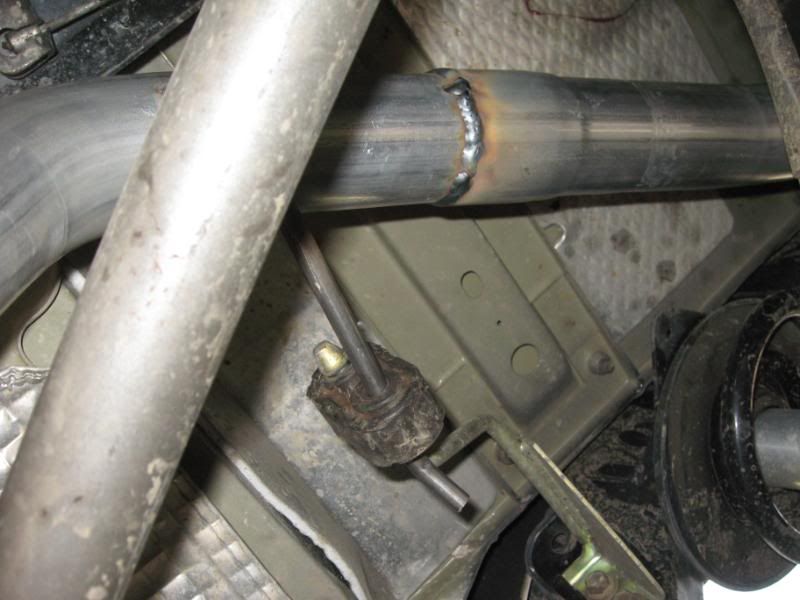
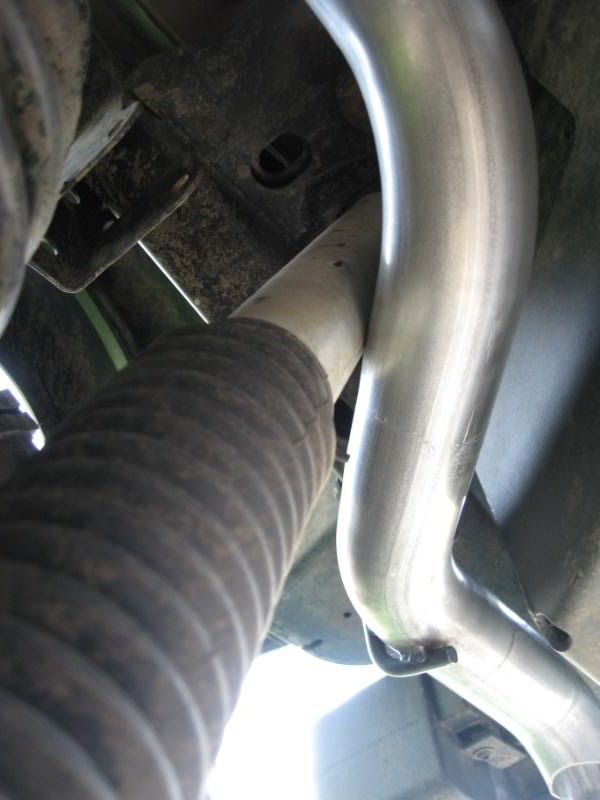
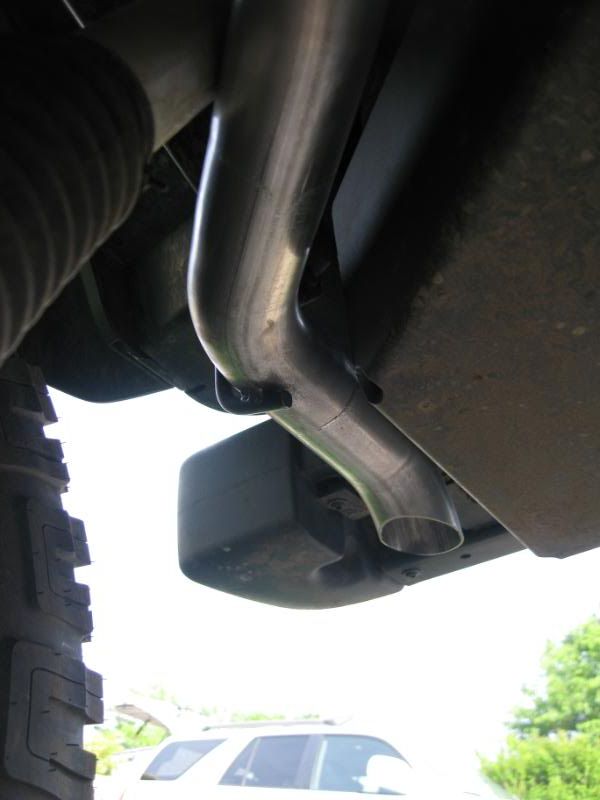
It has taken me 3 weeks to get to this point but I can now see the light at the end of the tunnel! Man what a job this was working in my teeny-tiny, micro mini garage! Anyway, Today after I finally got my new tires mounted and rear springs/bumpstops installed with the tires on front and rear I have to say I was really amazed at the size of it all! I have a few more clean up items to do underneath, the Dual-rate Swayloc to install, and ARB Differential covers, and someone to weld the exhaust on to clear the long arms...Here are some pics of various stages in no particular order, enjoy!
Tank out for ROKMEN skid...
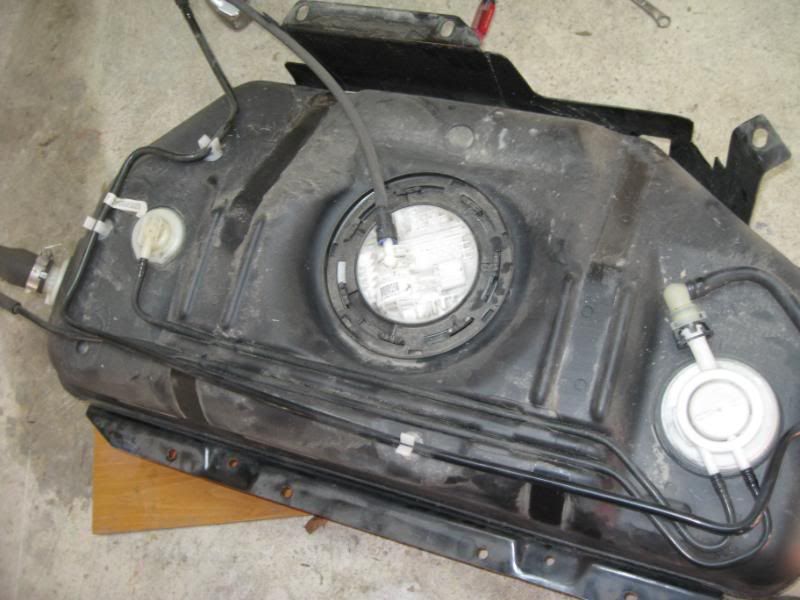
Tank straps have to be re-bent the oppisite direction for the new skid...
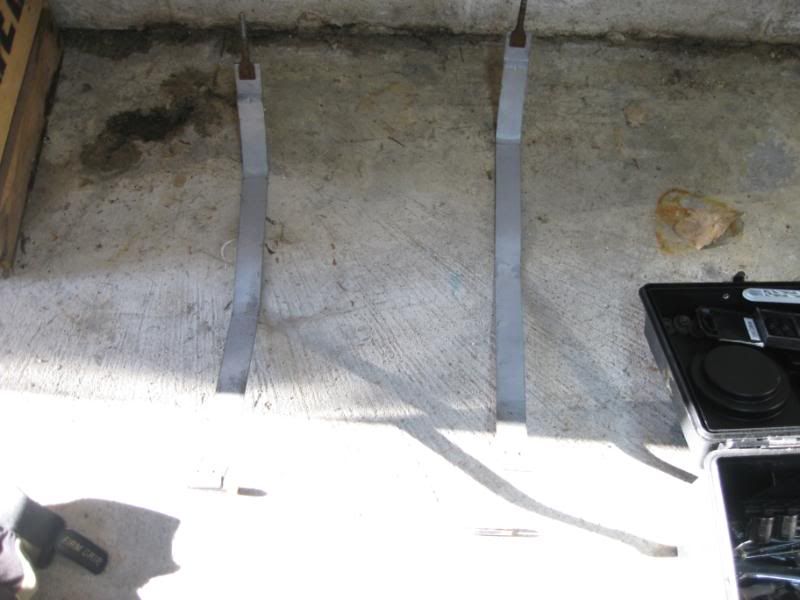
Straps placed in new skid

Tank installed in skid...
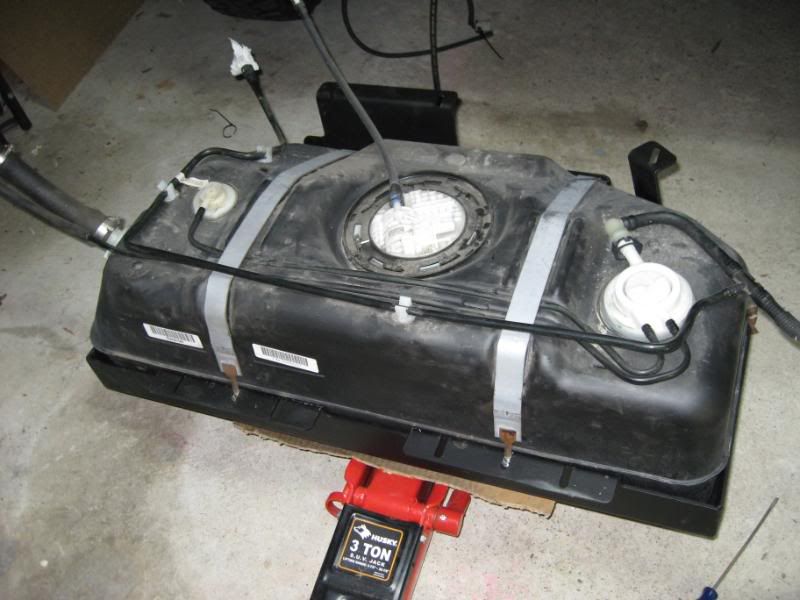
Skid installed on Jeep

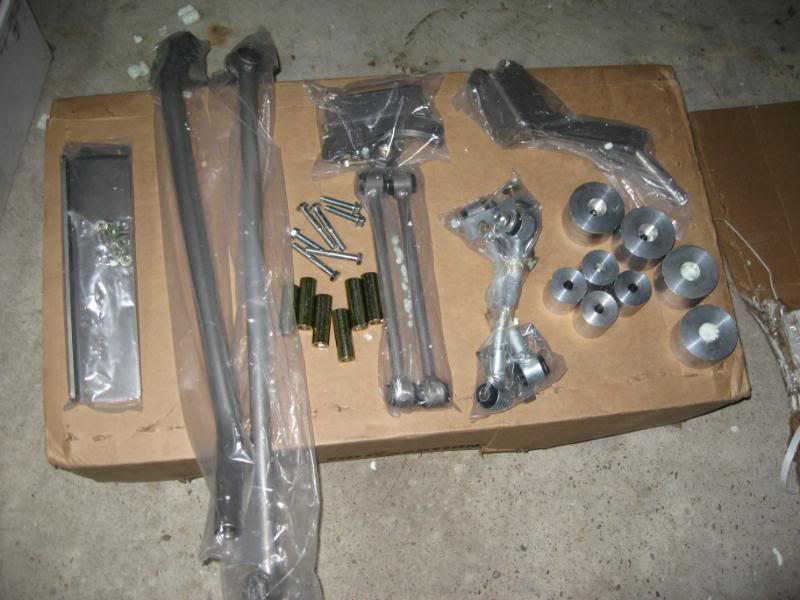
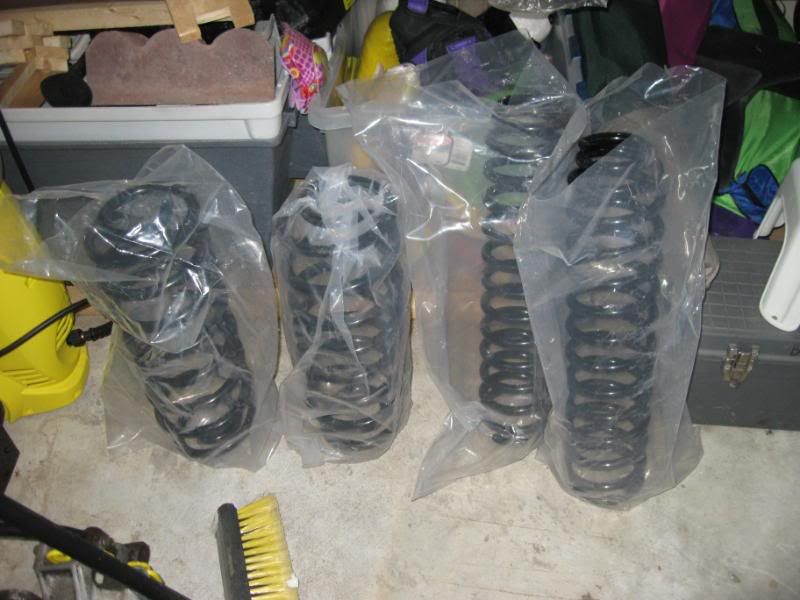
LIFT parts...
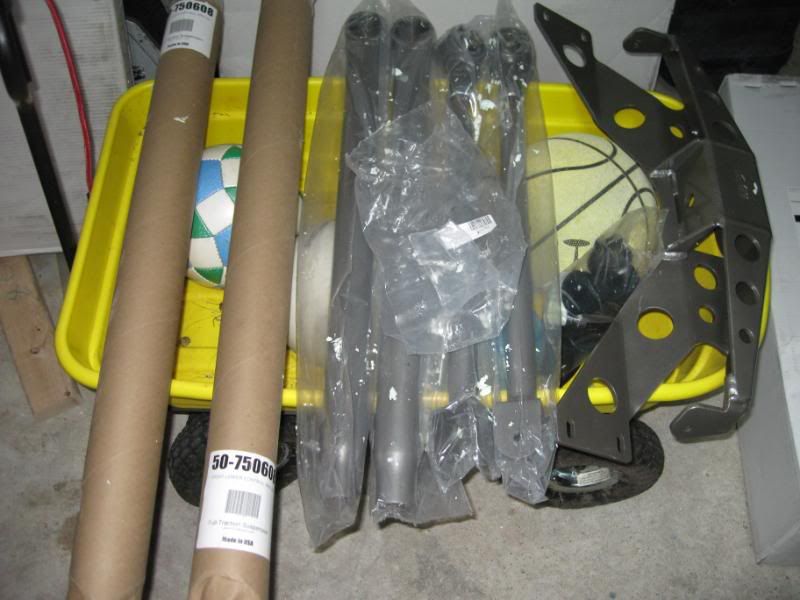
Start of install...3 weeks ago!

Getting rid of the old shovel...

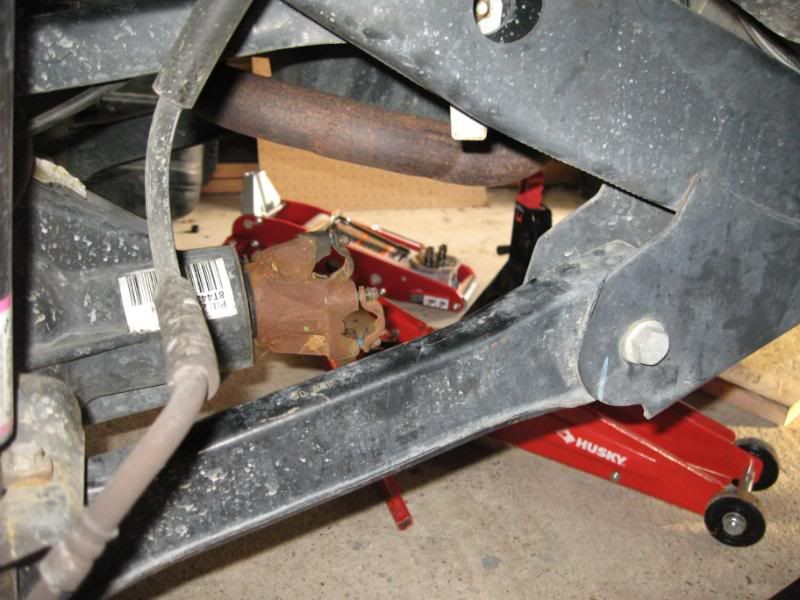
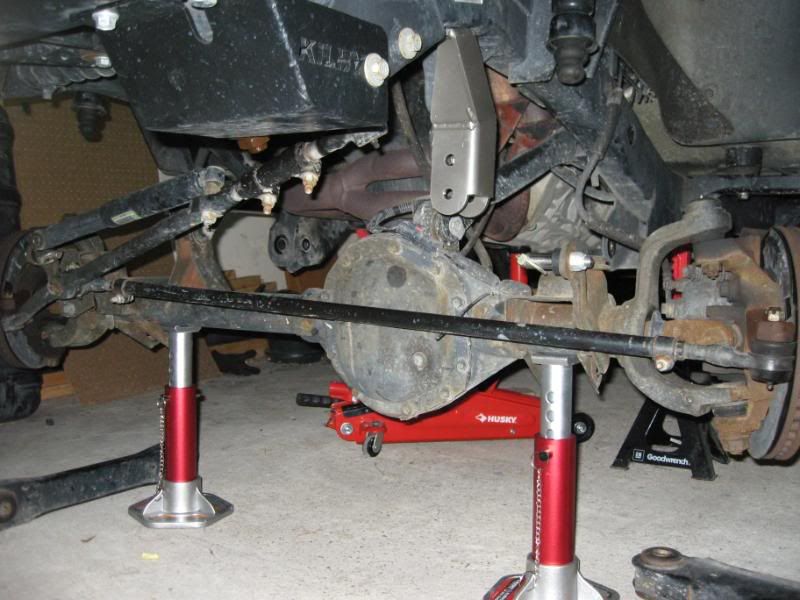
Track bar bracket/frame brace installed...
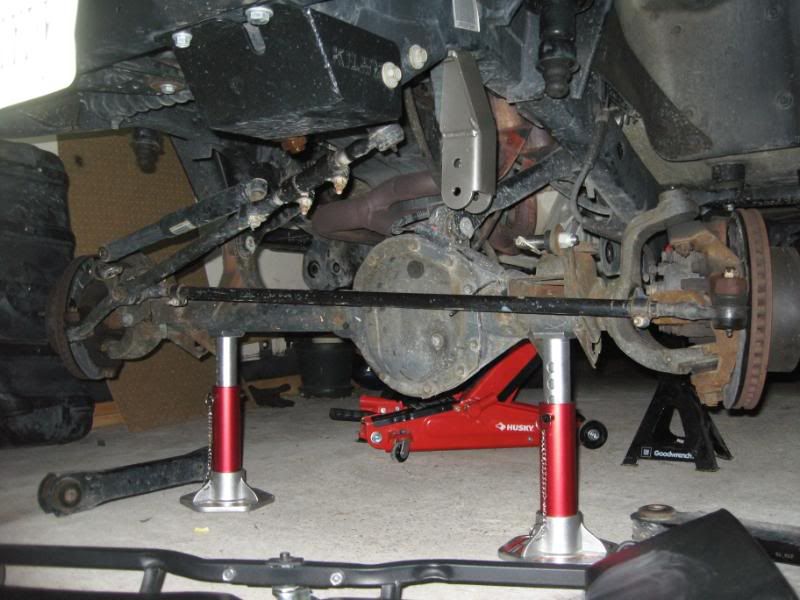
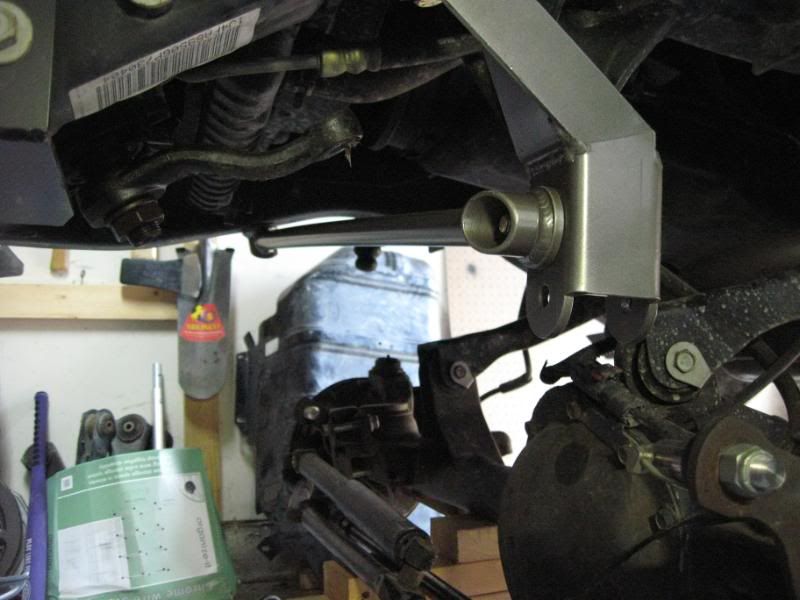
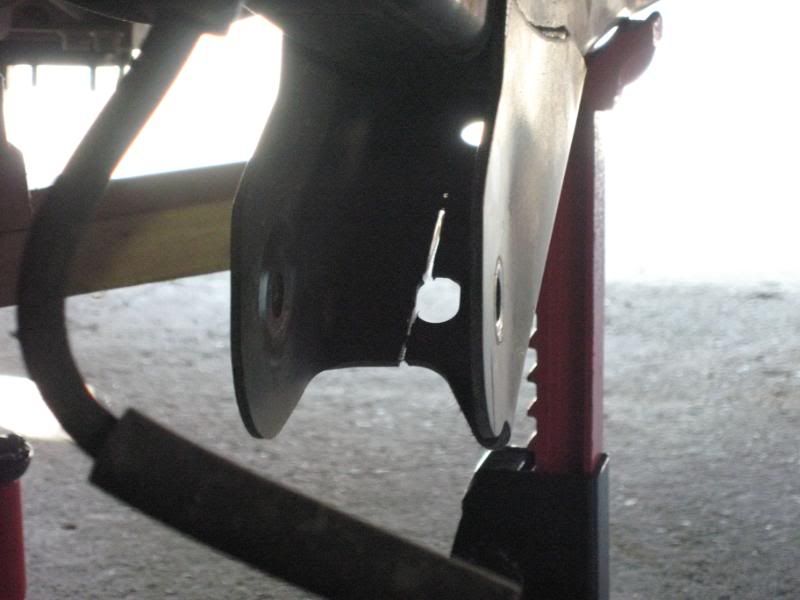
I'm committed now, stock control arm brackets getting cut off! (Wish I had a plasma cutter!!!!!!)
Exhaust out...
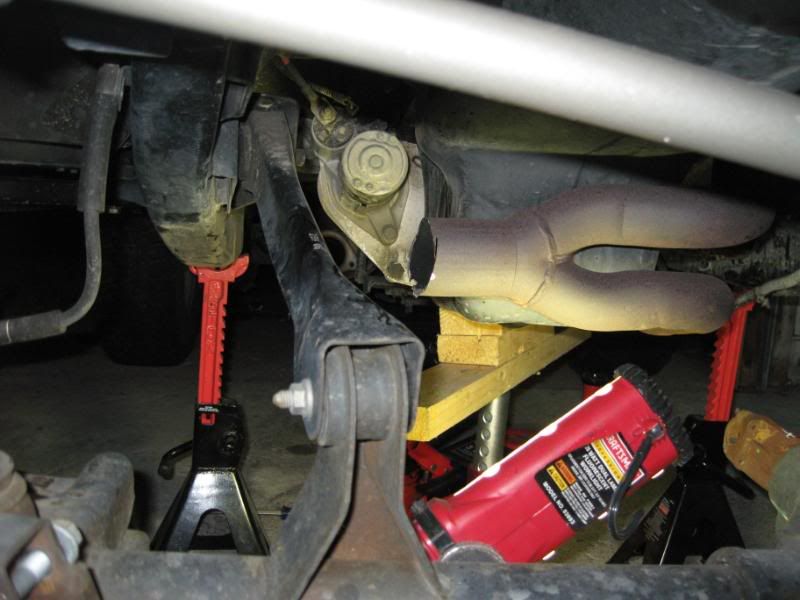
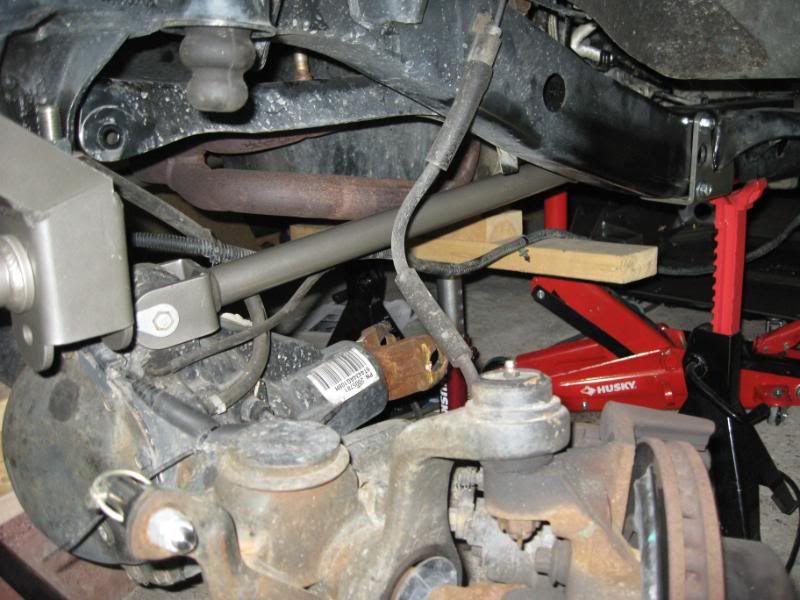
Front upper links installed...

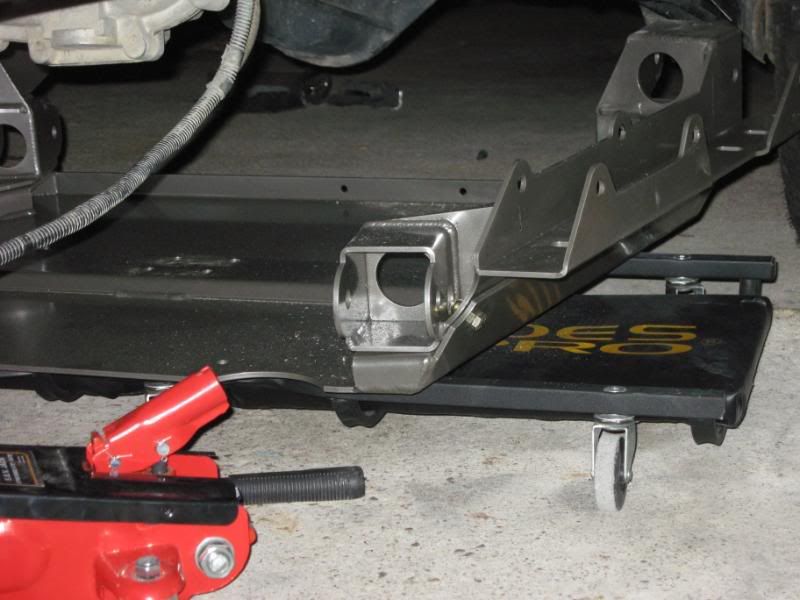
Side frame brackets, frame welds ground off and re-painted, holes drilled for crush sleeves...
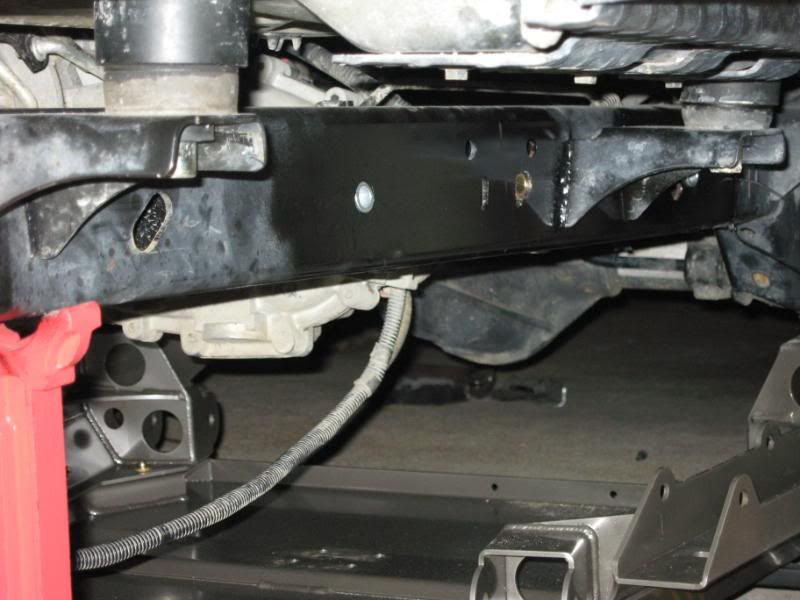
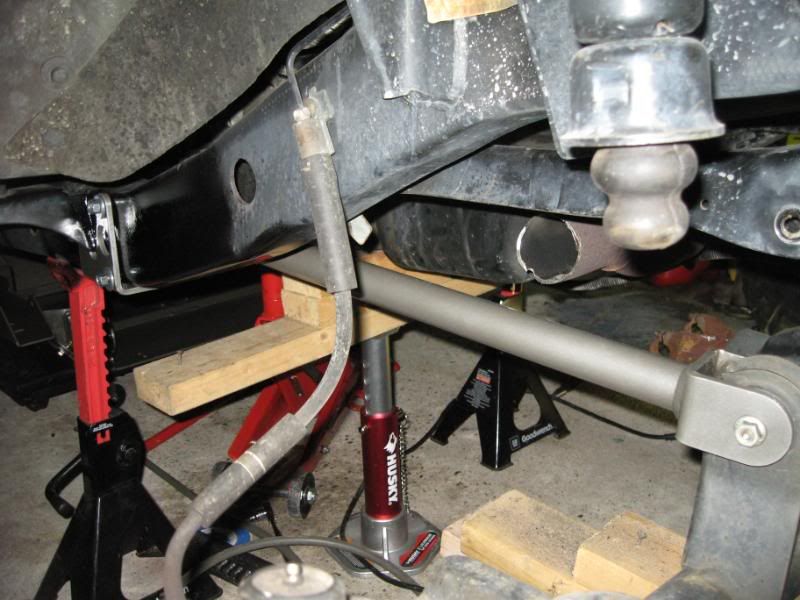
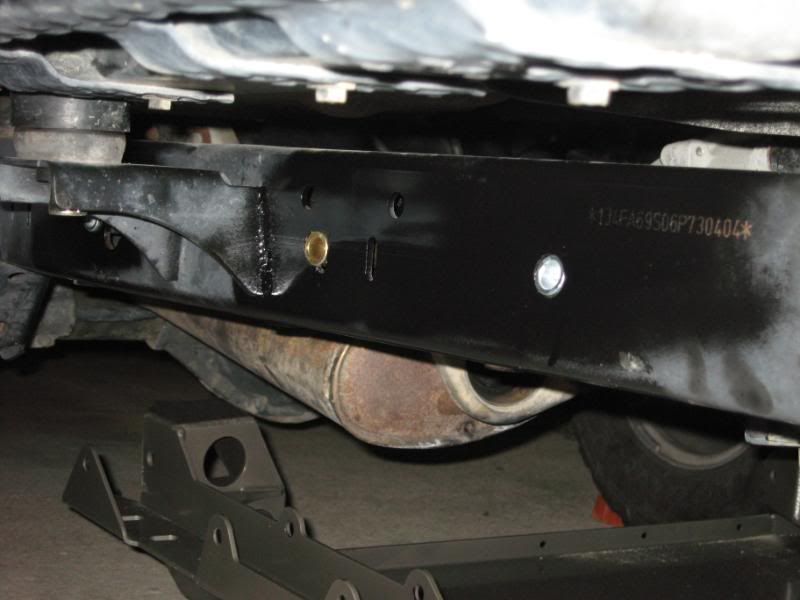

Axle-end Heim joint...
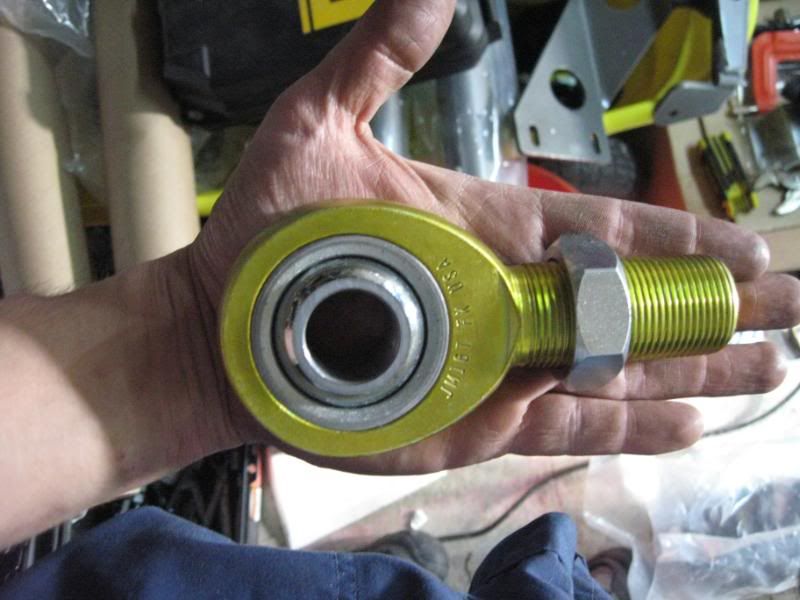
Front link arm...

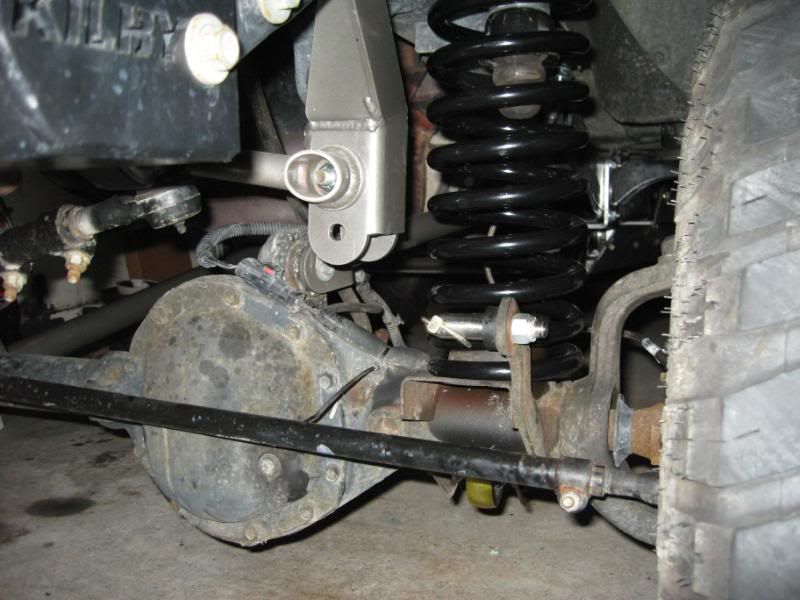
Front half done....
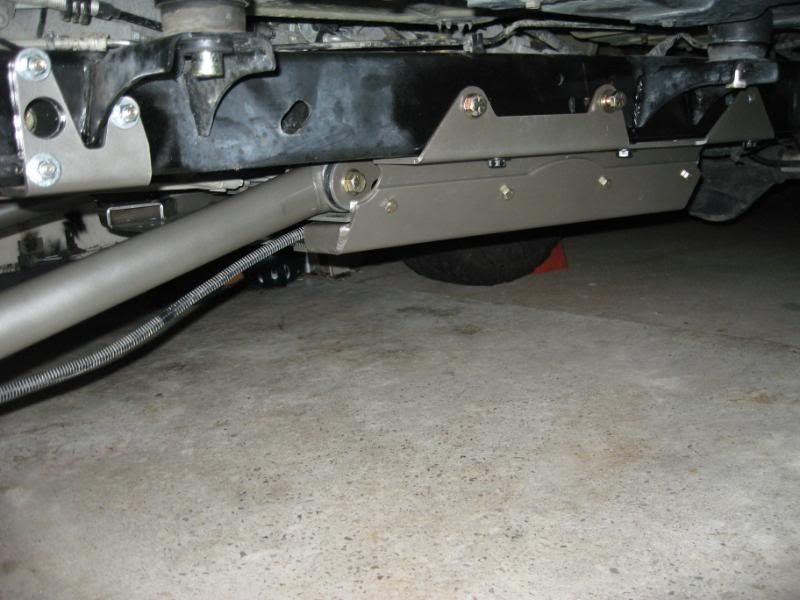
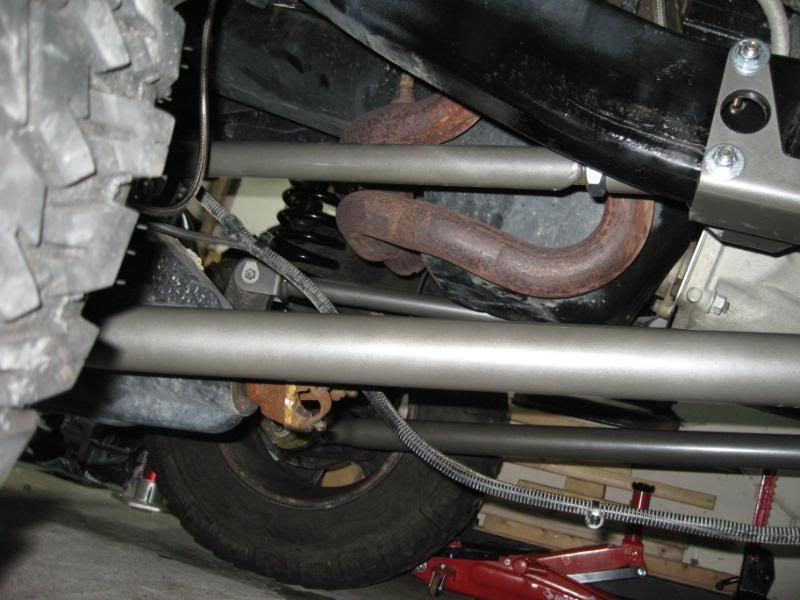
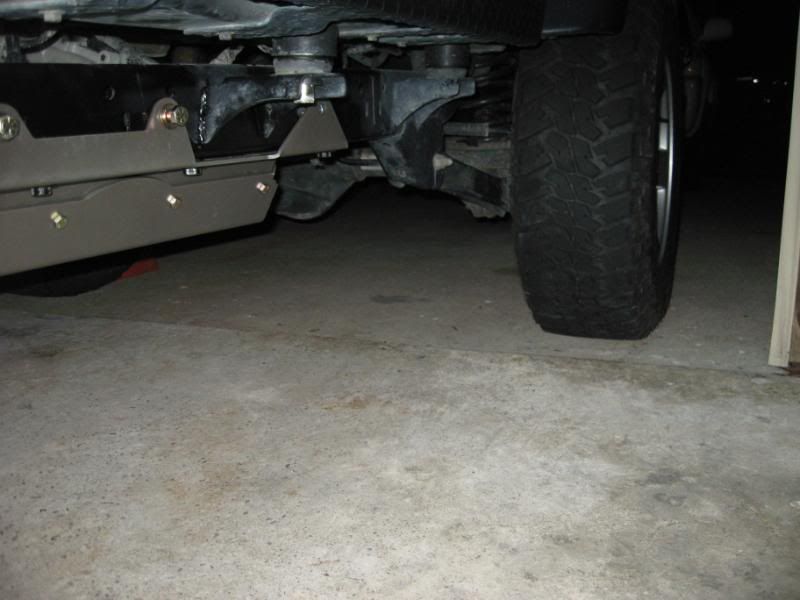
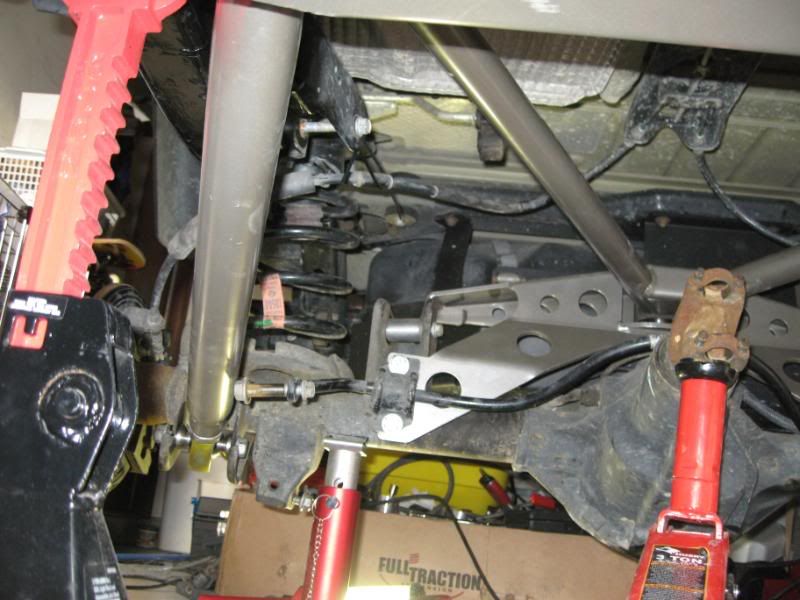
Last weekend working on the rear links, axle cross-member...



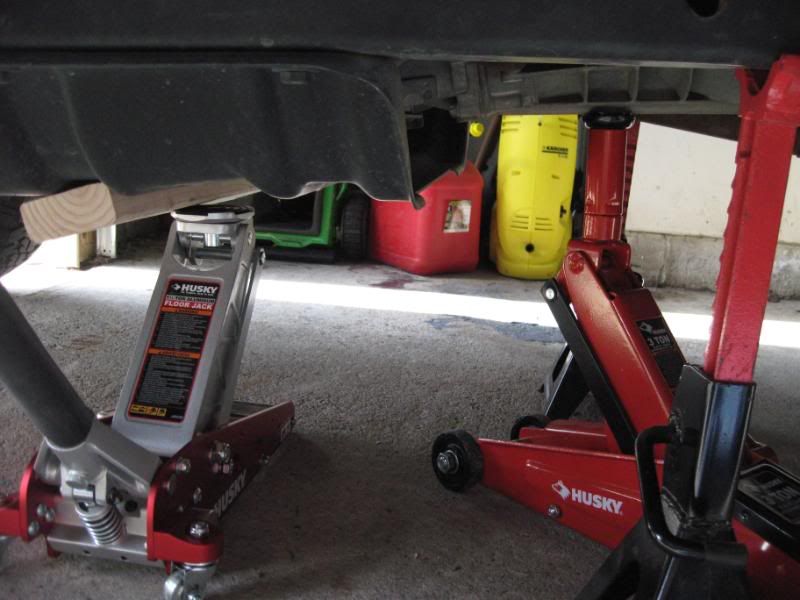
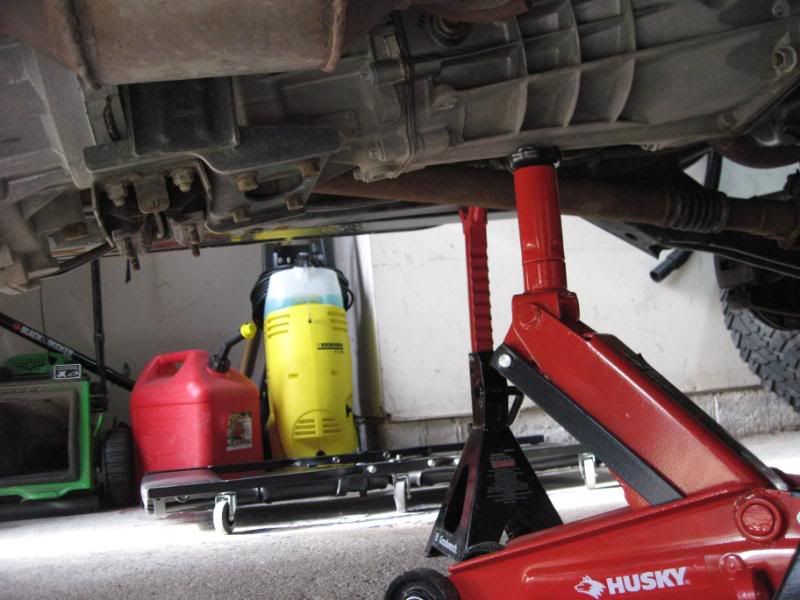
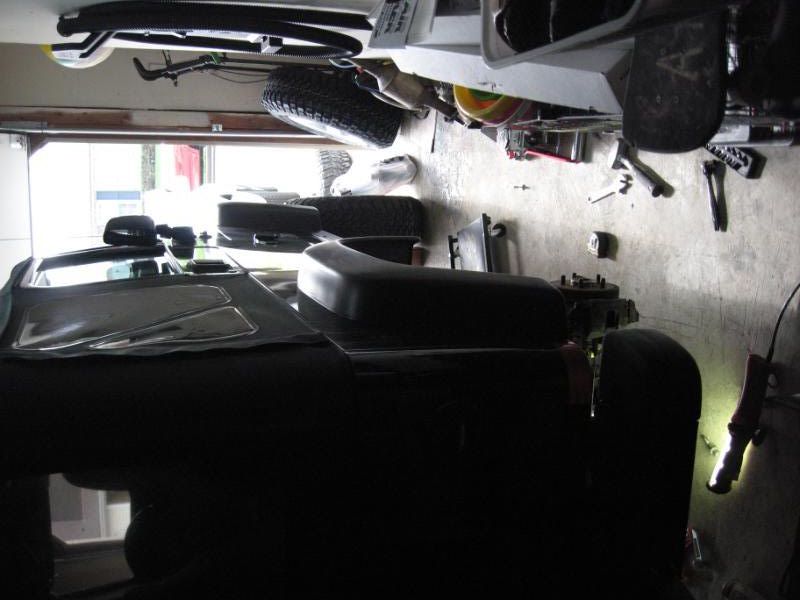
This is the room on each side of the Jeep I had to work with... IT SUCKS!!! And it sucks not having a lift to do this all on but the wife wanted me to do it at home in case she needed a hand with the midget...It's all good!!
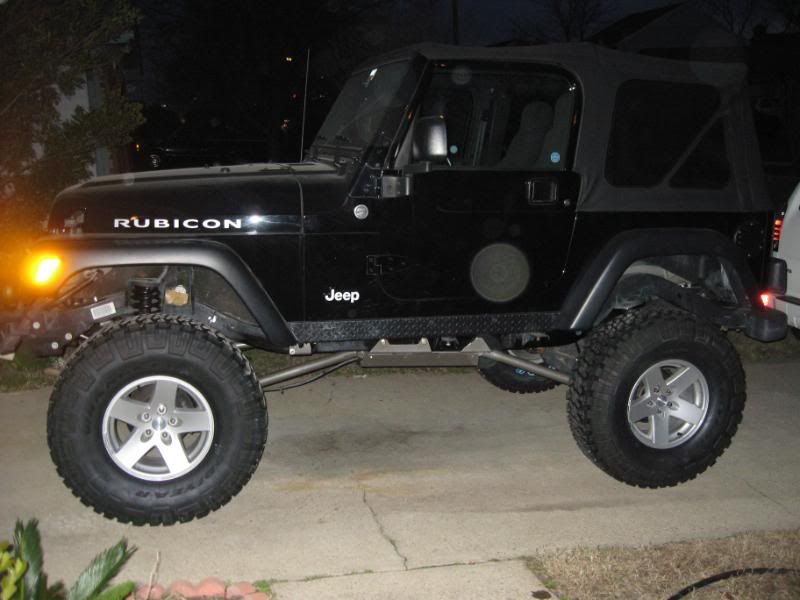
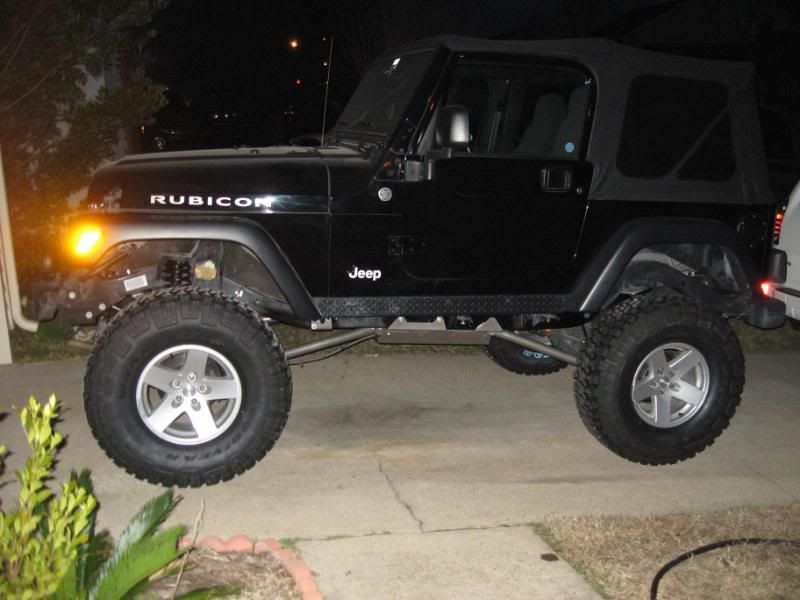
Today with rear springs, bumpstops, and new tires installed...Not a bad job for a dummy like me!!!!

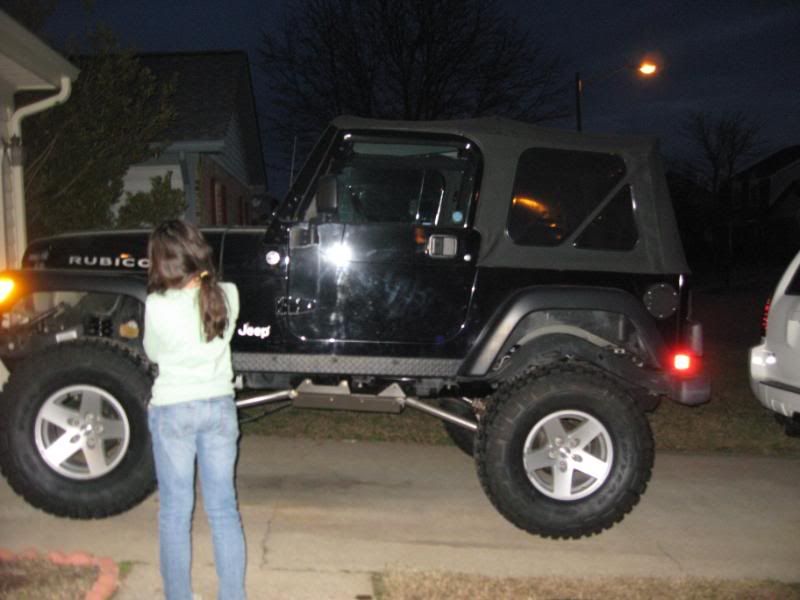
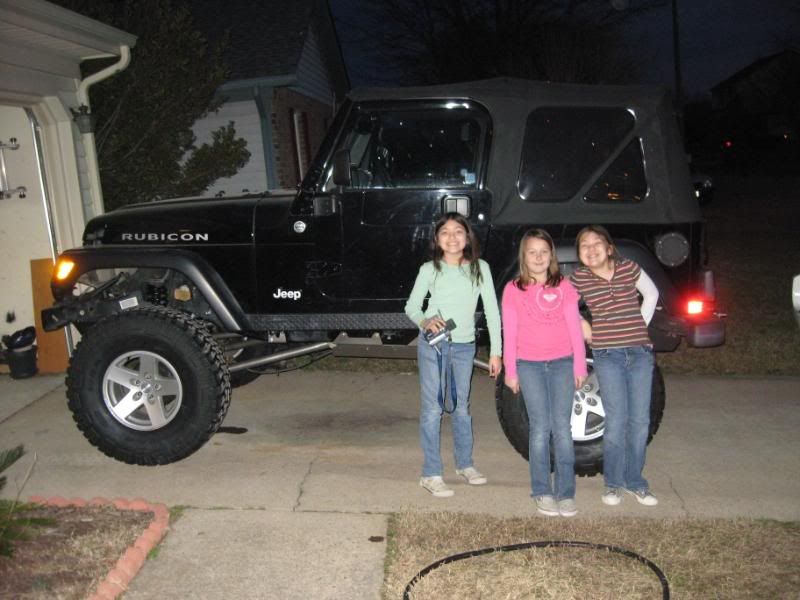
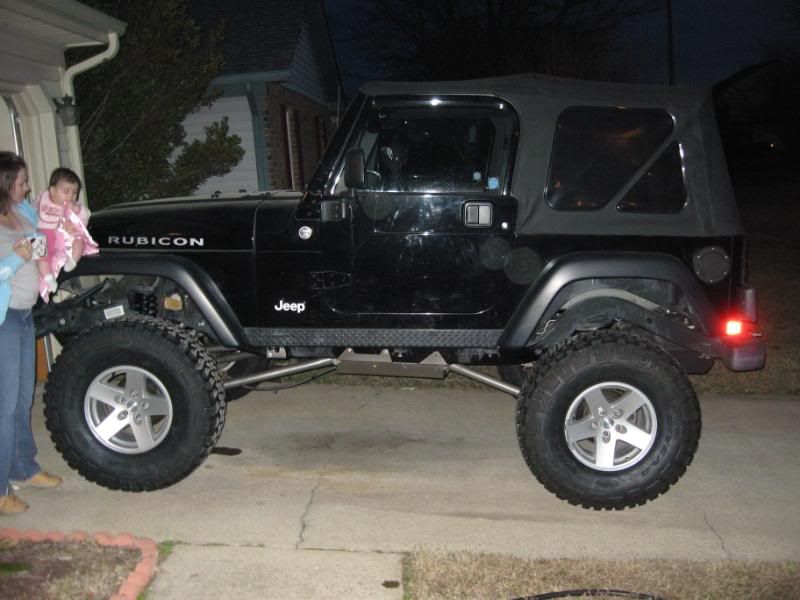
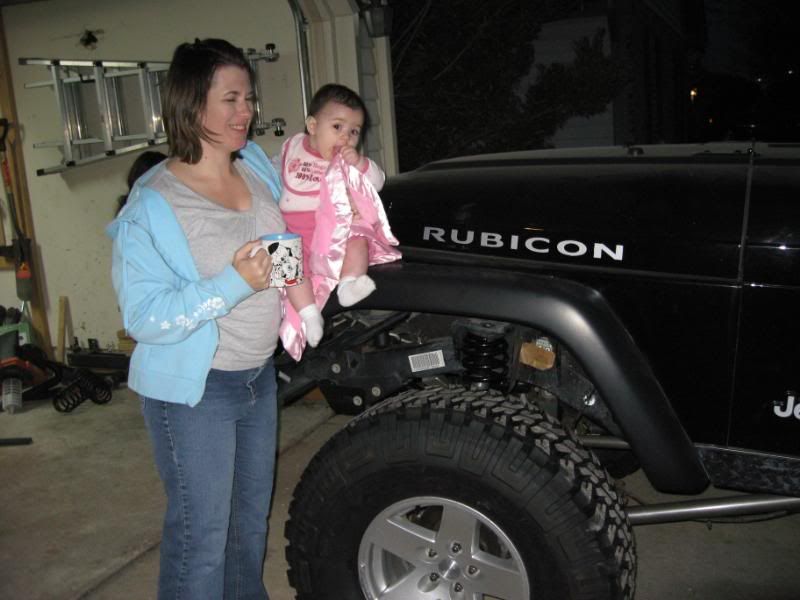
Little midget on the fender with momma....

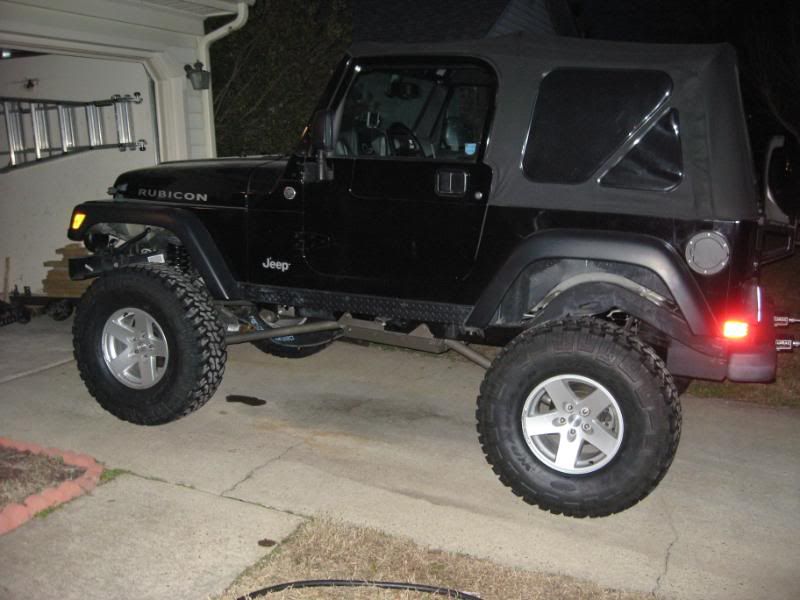
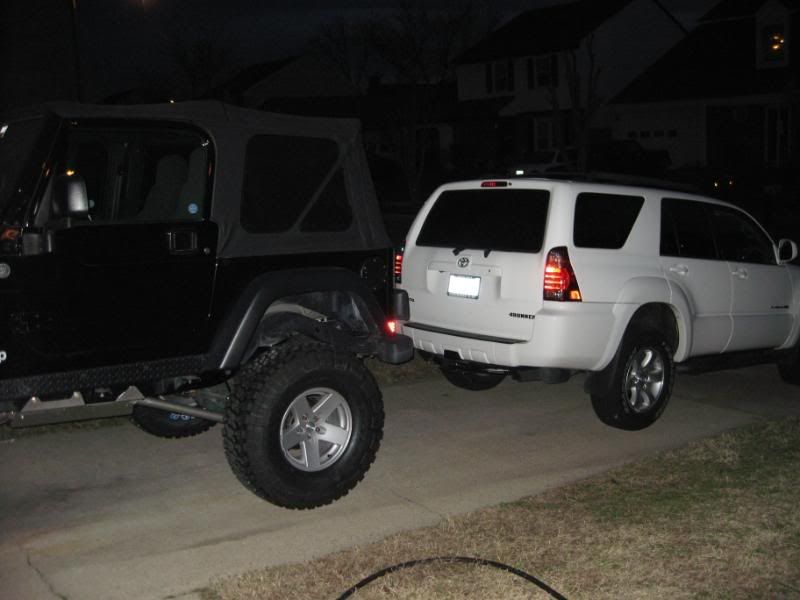
Height relative to the wife's 4Runner...
Also had to install 4 Spidertrax wheel-spacers, not a big deal. Tomorrow will get to tying up the loose ends underneath, install the front driveshaft, all four shocks, and maybe even the Swayloc Dual-rate....Till the next time!!!
Will
3 MAR 08
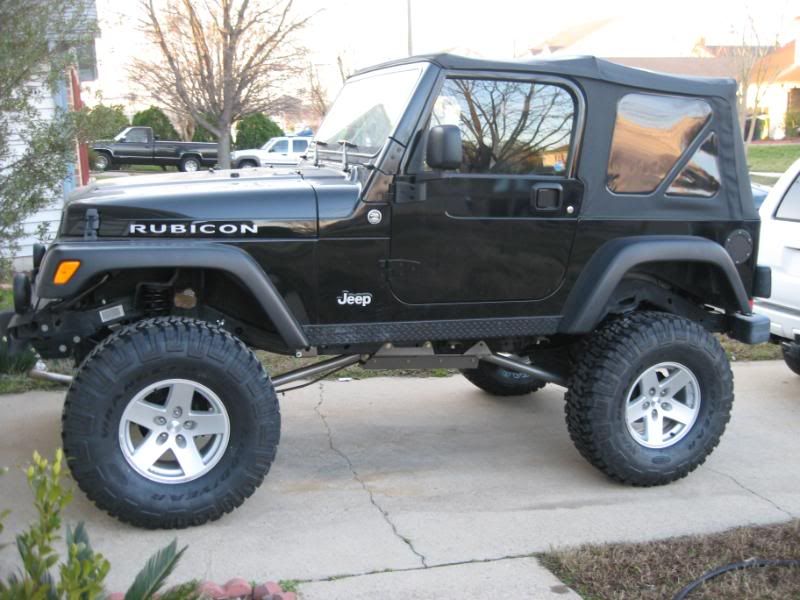
Here's a little "Before and After" comparison Dave mentioned...
Will
Before:

After:
14 MAR 08 - SWAYLOC DR install, HD Tie Rod.
Okay got motivated tonight because I got sick of hitching rides to work. Also be aware that if you do one of these take the bumper off! It says in the instructions, "May not be required" but I realized well after the fact I wasn't going to be able to put any bolts in to secure the SWAYLOC arms, let alone tighten it down. Always read the next page of instructions, helpful hints are mentioned after the fact! ;D
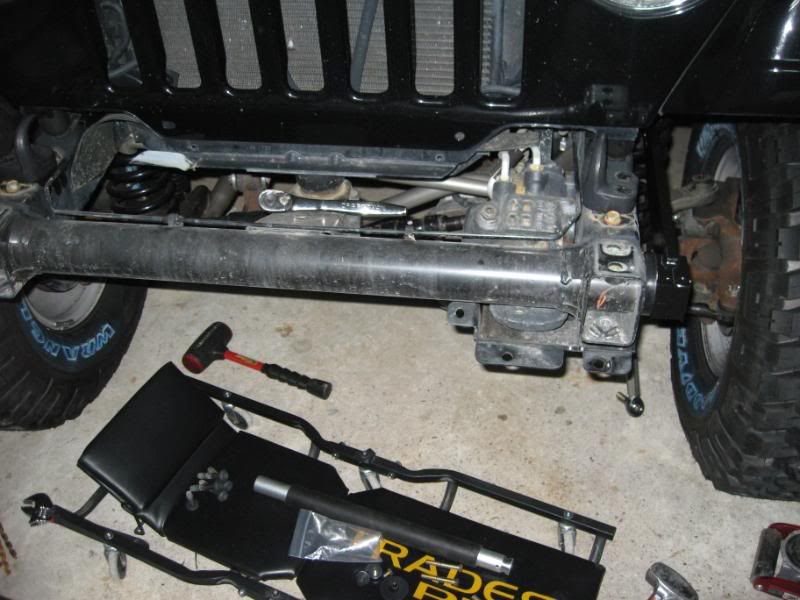
Okay, the torsion bars (2 of them, on road/off-road) get installed in the front frame cross-member tube pictured. 1st step after taking the "bumper off" is to pound in with a dead-blow mallet the driver side D-shaped bushing. then grease with included loc-tite Viper lube.
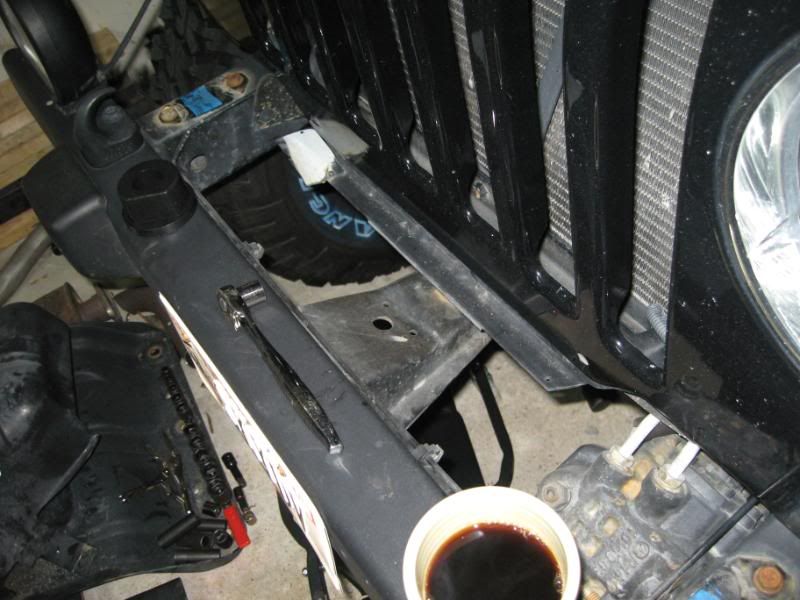
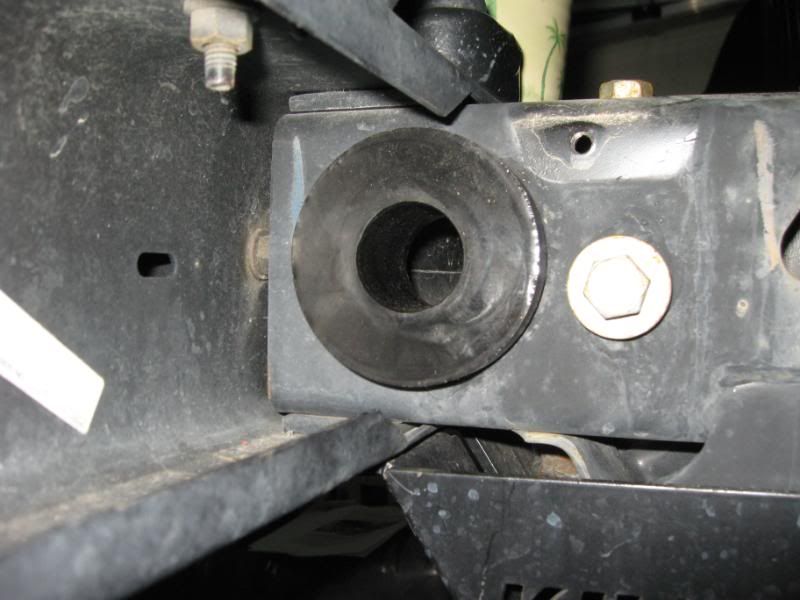
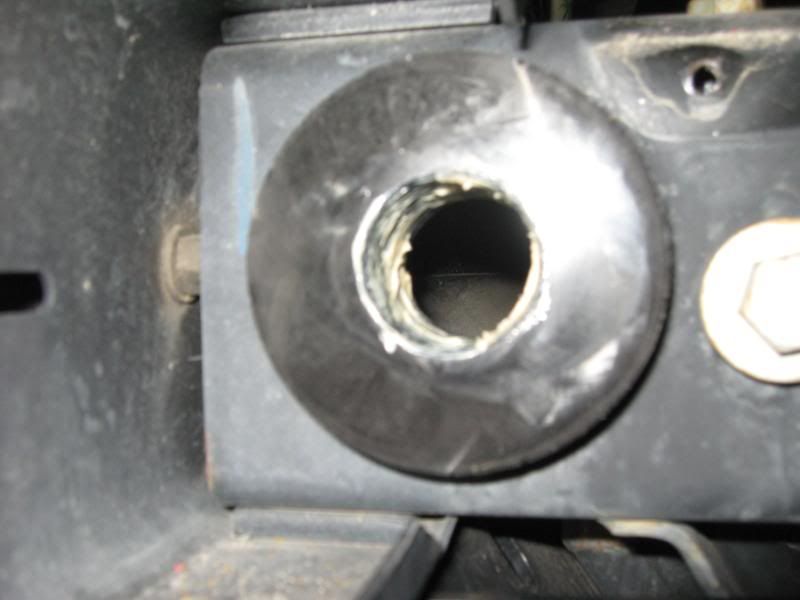
Pound that sucker in till it's flush with the frame/tube crossmember.
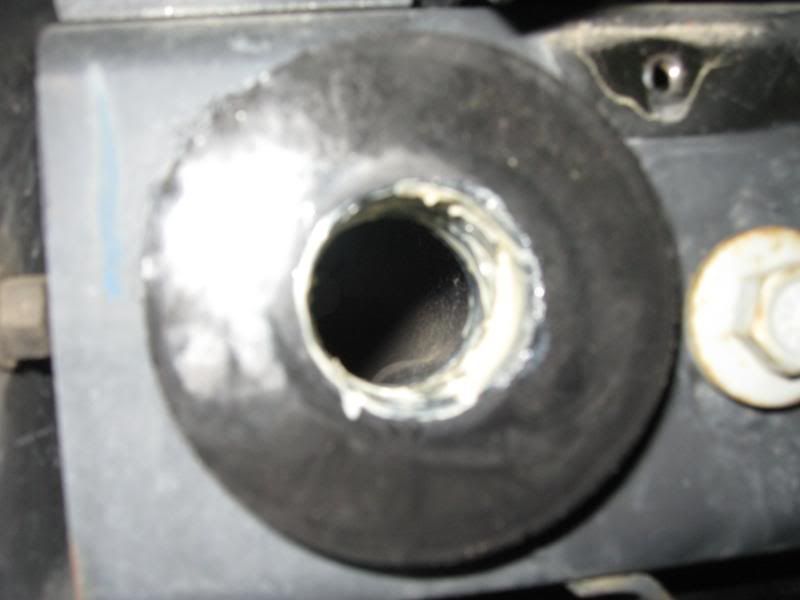
Lube the other bushing slide it on to the large hollow torsion bar, then slip it in the cross-member till you feel it hit the opposite side bushing, I then reached in with a finger and got it started in the Driver side bushing. It is now a matter of getting this all pounded in there so both bushings are flush, and you have about 3/4" splines sticking out the driver's side.
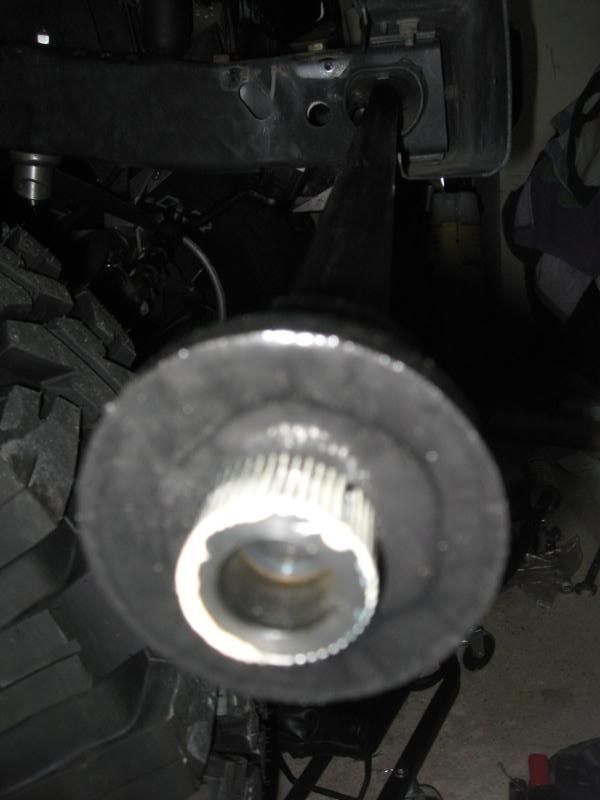
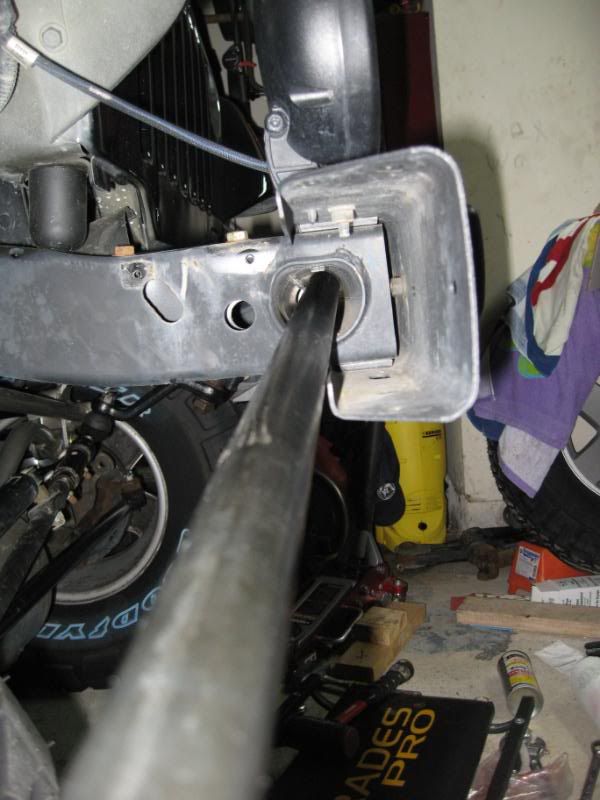
All flush bushings, 3/4" on the drivers side! moving on!
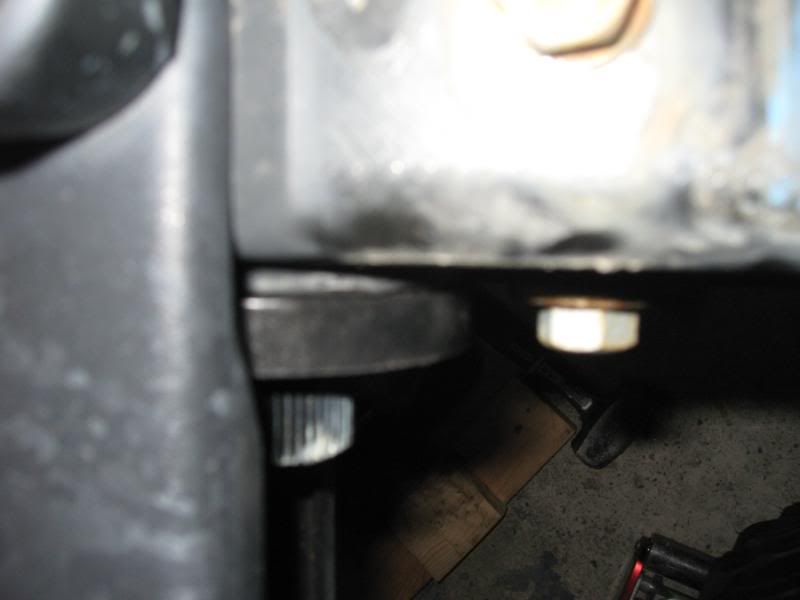
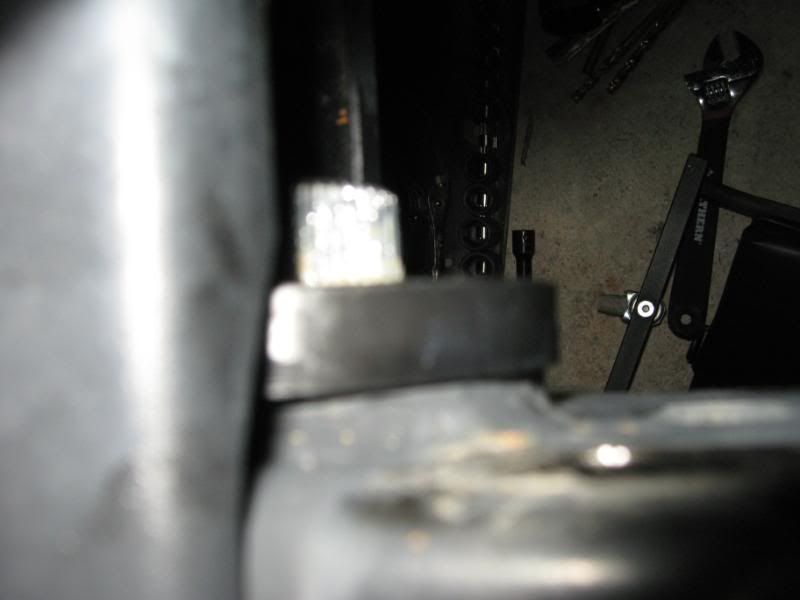
Grease the face of the bushings up with some of the lube, as this is where the arms will contact the bushings...
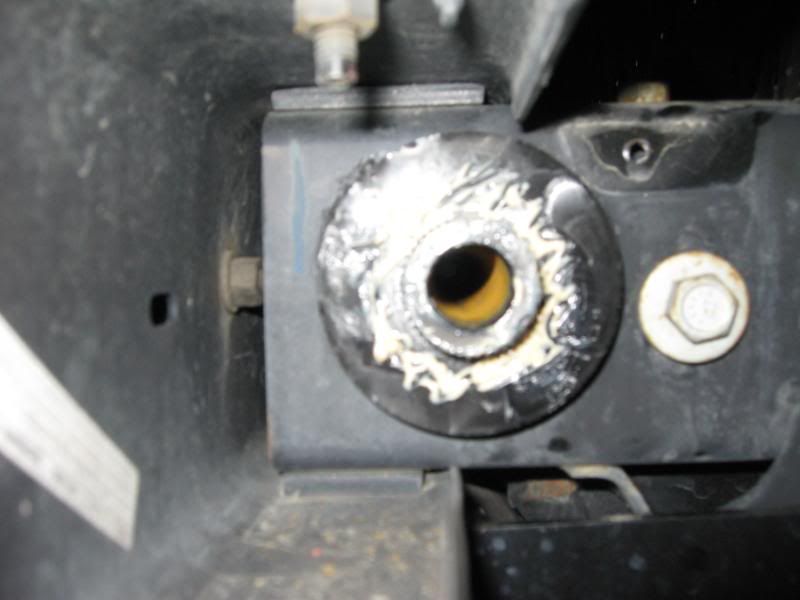
Work the Driver's side arm on to the splines till it is flush against the drivers side bushing. I positioned it parallel to the frame.
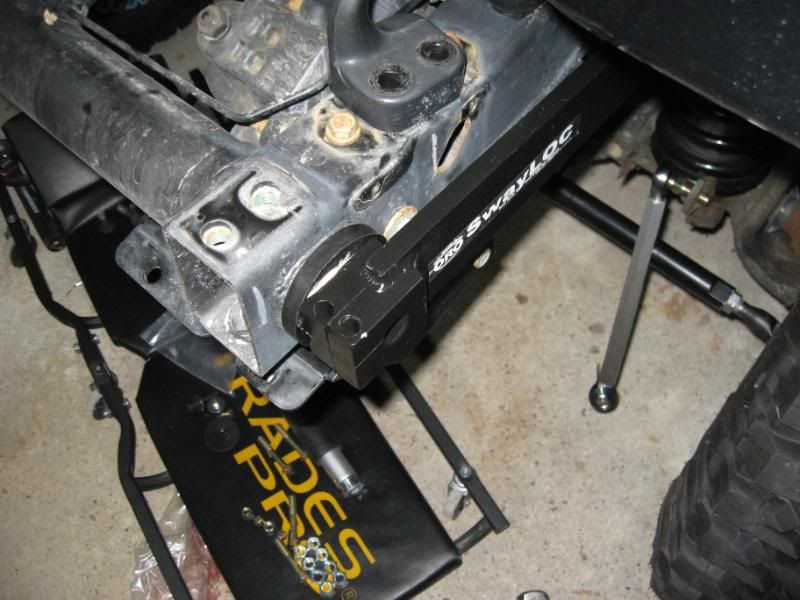
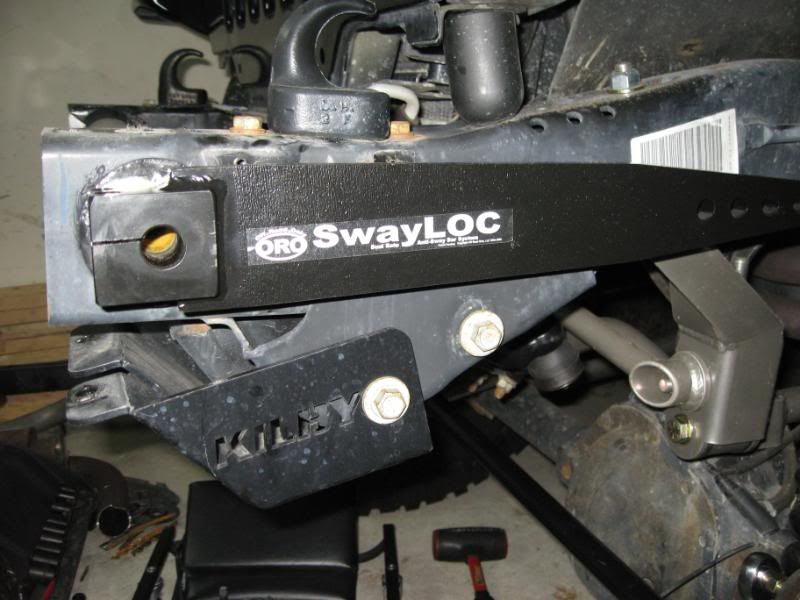
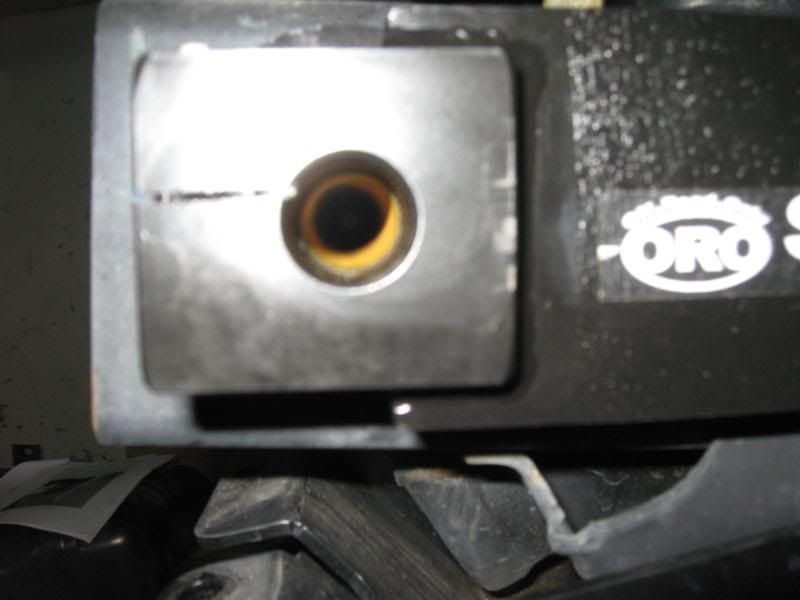
Next, take the smaller, inner torsion bar and stick it in from the passenger side about an inch or so, then lube that thing up the full length of the bar. Then you push it through till it just engages the splines on the drivers side arm.
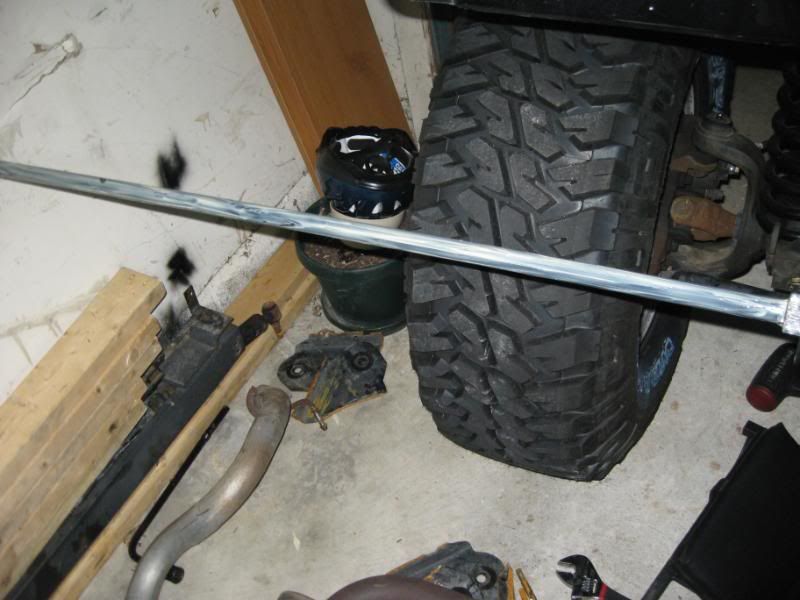
Next you draw the bar through with an included 5/16" bolt and washer till the inner bar is about a washers thickness of being flush with the drivers side arm.
Put in the pictured bolts but don't tighten em down yet, still have the passenger side arm, which is the important side!
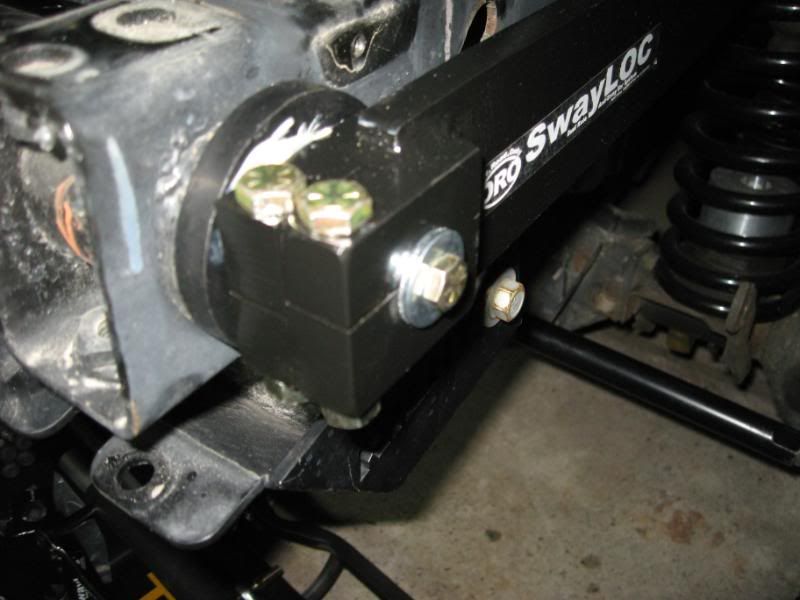
The passenger side is 2 pieces, They need to line up correctly in order for the SWAYLOC to function the way it was designed to, make sure this is done correctly so that when your jeep is on flat level ground in a neutral position the latch lines up with the catch.
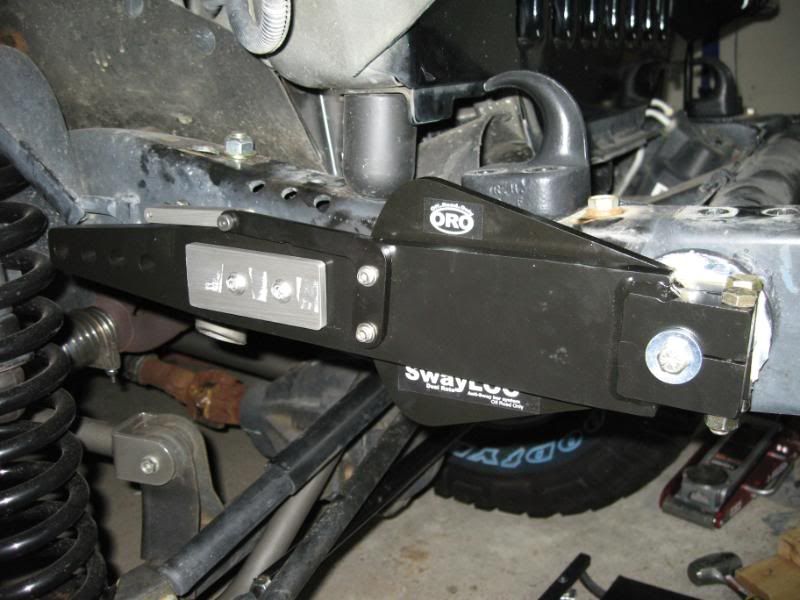
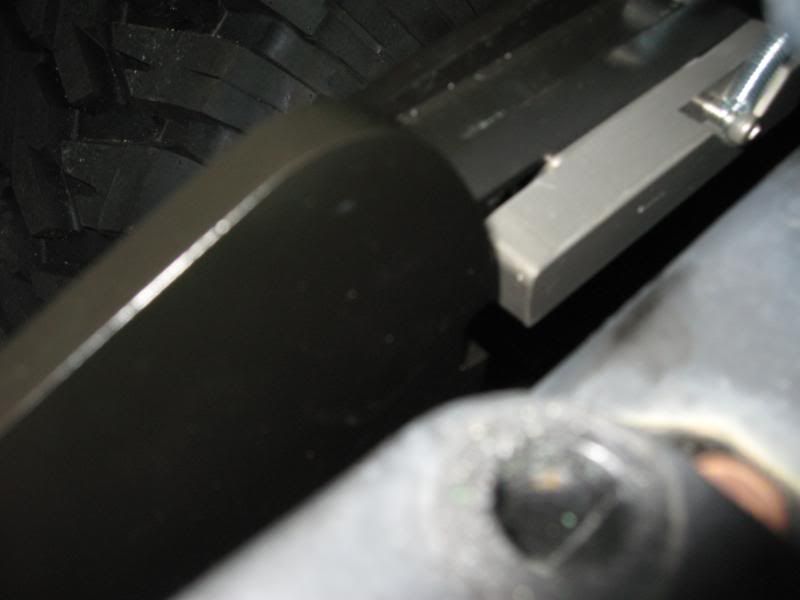
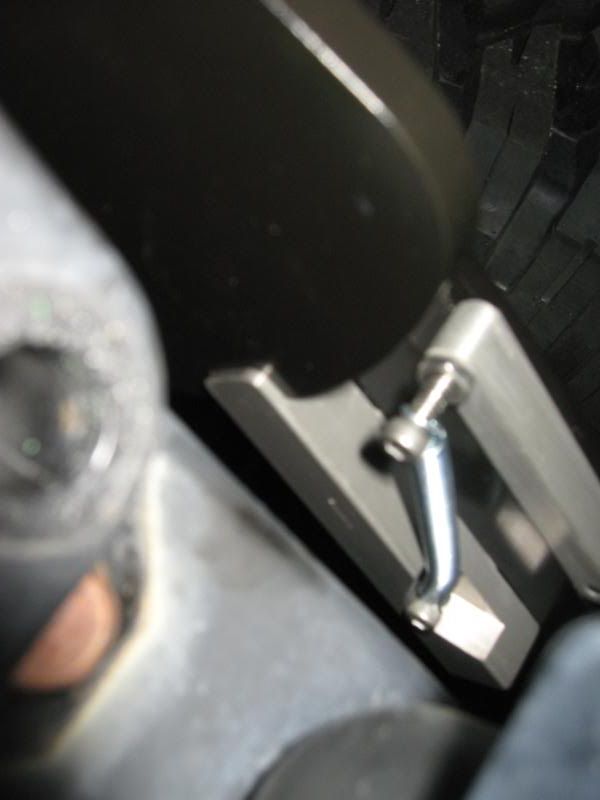
Thats about all there is to it, bolt all the crap you took off back on and go! One thing I know is I am going to have to clearance my bumper a bit both top and bottom so the arms won't end up hitting in the future. All in all pretty easy install!
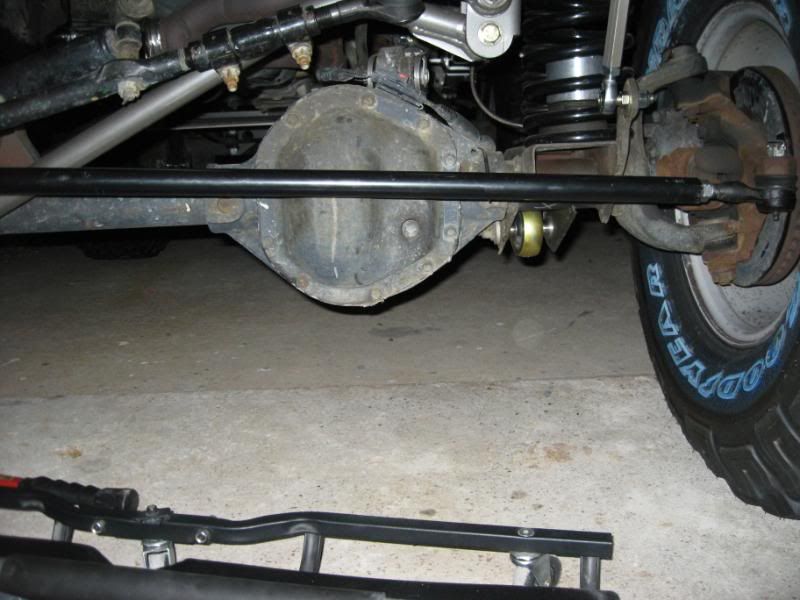
Picture of the Beefier than stock tie-rod I put on, this was a left over from my 98TJ so I decided for now I would use it, much better than the stock variety!!
Till the next time!! Enjoy!
Will

Cheers!
Will
Rokmen Gas Tank skid delivered from UPS....


All painted up ready for install. I ended up doing 2 coats of POR15 with a brush,(I had it sitting around) and then 2 coats of black rattle can textured black paint, wasn't real concerned about it since it is underneath and will get bashed anyway!


Here are some pics of the Full Traction 6" long arm I will be installing, I'll more as I do the install!


Kit came in 5 boxes, long arm links are huge and beefy! I did agonize for several months over this kit and a Clayton but felt this was better for me doing the install and it is all bolt on for the most part, anyway I will keep updating as it progresses! I do have to be done by Monday, gotta drive to work!!!!

Will
1 MAR 08
Okay,
It has taken me 3 weeks to get to this point but I can now see the light at the end of the tunnel! Man what a job this was working in my teeny-tiny, micro mini garage! Anyway, Today after I finally got my new tires mounted and rear springs/bumpstops installed with the tires on front and rear I have to say I was really amazed at the size of it all! I have a few more clean up items to do underneath, the Dual-rate Swayloc to install, and ARB Differential covers, and someone to weld the exhaust on to clear the long arms...Here are some pics of various stages in no particular order, enjoy!
Tank out for ROKMEN skid...

Tank straps have to be re-bent the oppisite direction for the new skid...

Straps placed in new skid

Tank installed in skid...

Skid installed on Jeep

LIFT parts...


Start of install...3 weeks ago!

Getting rid of the old shovel...


Track bar bracket/frame brace installed...


I'm committed now, stock control arm brackets getting cut off! (Wish I had a plasma cutter!!!!!!)

Exhaust out...

Front upper links installed...


Side frame brackets, frame welds ground off and re-painted, holes drilled for crush sleeves...


Axle-end Heim joint...

Front link arm...


Front half done....


Last weekend working on the rear links, axle cross-member...


This is the room on each side of the Jeep I had to work with... IT SUCKS!!! And it sucks not having a lift to do this all on but the wife wanted me to do it at home in case she needed a hand with the midget...It's all good!!

Today with rear springs, bumpstops, and new tires installed...Not a bad job for a dummy like me!!!!


Little midget on the fender with momma....


Height relative to the wife's 4Runner...

Also had to install 4 Spidertrax wheel-spacers, not a big deal. Tomorrow will get to tying up the loose ends underneath, install the front driveshaft, all four shocks, and maybe even the Swayloc Dual-rate....Till the next time!!!
Will
3 MAR 08
Here's a little "Before and After" comparison Dave mentioned...
Will
Before:

After:

14 MAR 08 - SWAYLOC DR install, HD Tie Rod.
Okay got motivated tonight because I got sick of hitching rides to work. Also be aware that if you do one of these take the bumper off! It says in the instructions, "May not be required" but I realized well after the fact I wasn't going to be able to put any bolts in to secure the SWAYLOC arms, let alone tighten it down. Always read the next page of instructions, helpful hints are mentioned after the fact! ;D
Okay, the torsion bars (2 of them, on road/off-road) get installed in the front frame cross-member tube pictured. 1st step after taking the "bumper off" is to pound in with a dead-blow mallet the driver side D-shaped bushing. then grease with included loc-tite Viper lube.


Pound that sucker in till it's flush with the frame/tube crossmember.

Lube the other bushing slide it on to the large hollow torsion bar, then slip it in the cross-member till you feel it hit the opposite side bushing, I then reached in with a finger and got it started in the Driver side bushing. It is now a matter of getting this all pounded in there so both bushings are flush, and you have about 3/4" splines sticking out the driver's side.


All flush bushings, 3/4" on the drivers side! moving on!


Grease the face of the bushings up with some of the lube, as this is where the arms will contact the bushings...


Work the Driver's side arm on to the splines till it is flush against the drivers side bushing. I positioned it parallel to the frame.


Next, take the smaller, inner torsion bar and stick it in from the passenger side about an inch or so, then lube that thing up the full length of the bar. Then you push it through till it just engages the splines on the drivers side arm.

Next you draw the bar through with an included 5/16" bolt and washer till the inner bar is about a washers thickness of being flush with the drivers side arm.
Put in the pictured bolts but don't tighten em down yet, still have the passenger side arm, which is the important side!

The passenger side is 2 pieces, They need to line up correctly in order for the SWAYLOC to function the way it was designed to, make sure this is done correctly so that when your jeep is on flat level ground in a neutral position the latch lines up with the catch.


Thats about all there is to it, bolt all the crap you took off back on and go! One thing I know is I am going to have to clearance my bumper a bit both top and bottom so the arms won't end up hitting in the future. All in all pretty easy install!
Picture of the Beefier than stock tie-rod I put on, this was a left over from my 98TJ so I decided for now I would use it, much better than the stock variety!!

Till the next time!! Enjoy!
Will


